Ideas
Your First Sewing Project: A Cloth Napkin with Straight Seams
Make one small napkin before a matching set. Practice double-fold hems, simple overlapping corners and a useful check before making the next piece.
By Hobby-ist Editorial Team · 6 min read · October 6, 2026
In this story
A cloth napkin turns straight-seam practice into something you can use. You do not have to begin with a matching set. Make one small square, inspect the folded edges, and see what you want to change before cutting the next piece.
Why we picked it: a single-layer napkin has no fitting, closure, or lining to manage. Hobby-ist's proposed version uses four separately sewn hems so you can stop and check after each side. It is a practice plan, not a pattern we have sewn and tested.
Check whether this is your next project
This suits an adult beginner who can thread their machine, start and stop a short straight seam, and recognize recurring tangles. If that is still uncertain, begin with our first sewing-machine session. A longer project will not fix an unexplained threading problem.
Choose this project if you want an everyday object and can use an iron according to its instructions. It is less suitable if you need a polished gift set immediately or want invisible stitching. Our overlapping corners are deliberately simple and can be bulkier than mitered corners.
Start with one napkin, not six. Splitting the work into fabric preparation, folding, and sewing is fine. We would leave a generous practice slot rather than promising a first-time completion time.
Choose fabric you want to wash and use
The Sewing.org Fabric Napkins guide identifies washable cottons and cotton blends as everyday options and notes that the wrong side shows on a single-layer napkin. For this first attempt, our choice is a stable, light-to-medium woven cotton with no stretch, heavy coating, or slippery surface.
Check the fabric's washing, drying, and ironing instructions. Prepare it using the care routine you plan to use for the napkin, then press it and cut afterward. Do not cut to a promised finished size before allowing for the fabric's preparation and your folding.
A plain or subtle print makes the folds easier to inspect. If the back of a strong print looks unfinished to you, choose another fabric for this version. A reversible two-layer napkin is another approach, but it introduces a different construction sequence.
Set out compatible thread and a needle suited to the fabric and your machine, a ruler, fabric scissors, an iron with a suitable pressing surface, and pins or fabric clips. A serger and a specialty narrow-hem foot are unnecessary for this proposed method. If you are choosing a machine, our first sewing-machine guide explains the controls worth checking.
Cut one square and understand the allowance
Our example starts with a 36 × 36 cm square after fabric preparation. Remove the selvage from the working square and use the fabric's lengthwise and crosswise grain as your guide. Check opposite sides and the corners before cutting; do not try to hide a skewed square by stretching it flat.
For each edge, fold 1 cm to the wrong side, then another 1 cm. This double turn encloses the raw edge. Each side uses 2 cm of the original square, so the planned finished size is approximately 32 × 32 cm: 36 cm minus 2 cm at each opposing edge. Cutting and folding accuracy affect the result.
This is our proposed small everyday size, not a standard dinner-napkin requirement. If you want a larger napkin, choose the finished dimension first and add 4 cm to each overall cut dimension for these same folds. Keep the first sample small enough to handle comfortably.
Press and test the exact folded layers
Before folding the whole square, make a scrap with the same two turns. Make a second scrap area where those folded edges overlap, like a corner. Test a straight stitch on both. A seam that works on two flat layers does not establish that your machine feeds the bulkier corner well.
Use your exact machine manual for the straight-stitch foot, needle, starting settings, thread route, and securing the seam. The Janome 7318 manual is an example of model-specific basic sewing and safety instructions; it is not a setup guide for every machine.
Follow the fabric and iron instructions while pressing. Lift and reposition the iron rather than pulling the square out of shape. Keep fingers clear of the hot surface and secure the work on the pressing surface. Turn the machine off for adjustments around the needle as directed in its manual.
If the layered test jams or the needle struggles, stop. Check the setup and choose a less bulky suitable fabric or get help. Do not force the fabric through to finish the exercise.
Sew two sides, then the other two
Here is our proposed sequence with simple overlapping corners:
- Fold the first pair of opposite sides. On each, press 1 cm toward the wrong side, then turn another 1 cm and press. Hold the fold with clips or pins away from the sewing path.
- Sew those two hems separately. With the folded side visible, stitch near the inner folded edge so the hem is caught. On the scrap, try a line roughly 2 mm inside that fold; choose a position you can guide consistently. Secure the start and end using your manual's method.
- Fold the remaining pair. Turn each remaining raw side 1 cm, then another 1 cm. These folds cover the ends of the first two hems. Inspect both corners so no raw cut edge sticks out.
- Sew the last two hems separately. Use the tested stitch position and secure each seam. Slow down at the overlapping layers. Stop if the fabric stops feeding instead of pushing or pulling it.
Remove each pin or clip before it reaches the presser foot and needle. Keep hands clear of moving parts. Finish and remove the fabric according to your machine instructions. Four separate seams let you inspect each side without learning a continuous corner-pivot sequence at the same time.
The limitation is visible overlap and extra thickness at the corners. If you want flatter diagonal corners, learn a mitered-corner method as a separate next project. Sewing.org illustrates that alternative; do not mix its clipped-corner construction into this sequence halfway through.
Inspect it before making a set
Lay the napkin flat and look at both sides. The first useful result has enclosed raw edges, hems caught by the stitching, secured seam ends, and no unexplained loose loops. Slightly uneven stitch spacing from the fold is feedback, not a reason to discard a usable sample.
- An uncaught fold: refold if needed and restitch the missed section, securing its ends.
- A raw corner sticking out: reopen the affected end carefully and correct the fold. Sewing across an exposed raw edge does not enclose it.
- Puckering: return to the folded scrap and check the setup before adjusting everything on the finished piece.
- Repeated skipped stitches or tangles: stop and use the model's troubleshooting guidance rather than continuing around the square.
Care for the napkin using the fabric's instructions and inspect the hems again afterward. Note the finished size, folding consistency, corner bulk, and whether you enjoy using it. Only then decide whether to make a larger one or a matching set. Put the actual fabric and notions needed into your hobby cost plan.
Hobby-ist's next-step judgment
Make the second napkin when the first has secure enclosed edges and survives its intended care routine. Improve one thing—perhaps a more even fold or a size that suits your table. Keep decorative stitching and polished mitered corners for later if they would make you postpone using the first result.
This project's value is the move from a practice seam to a finished object you can evaluate. A modest handmade square can teach more than a large set cut before you have checked one hem.
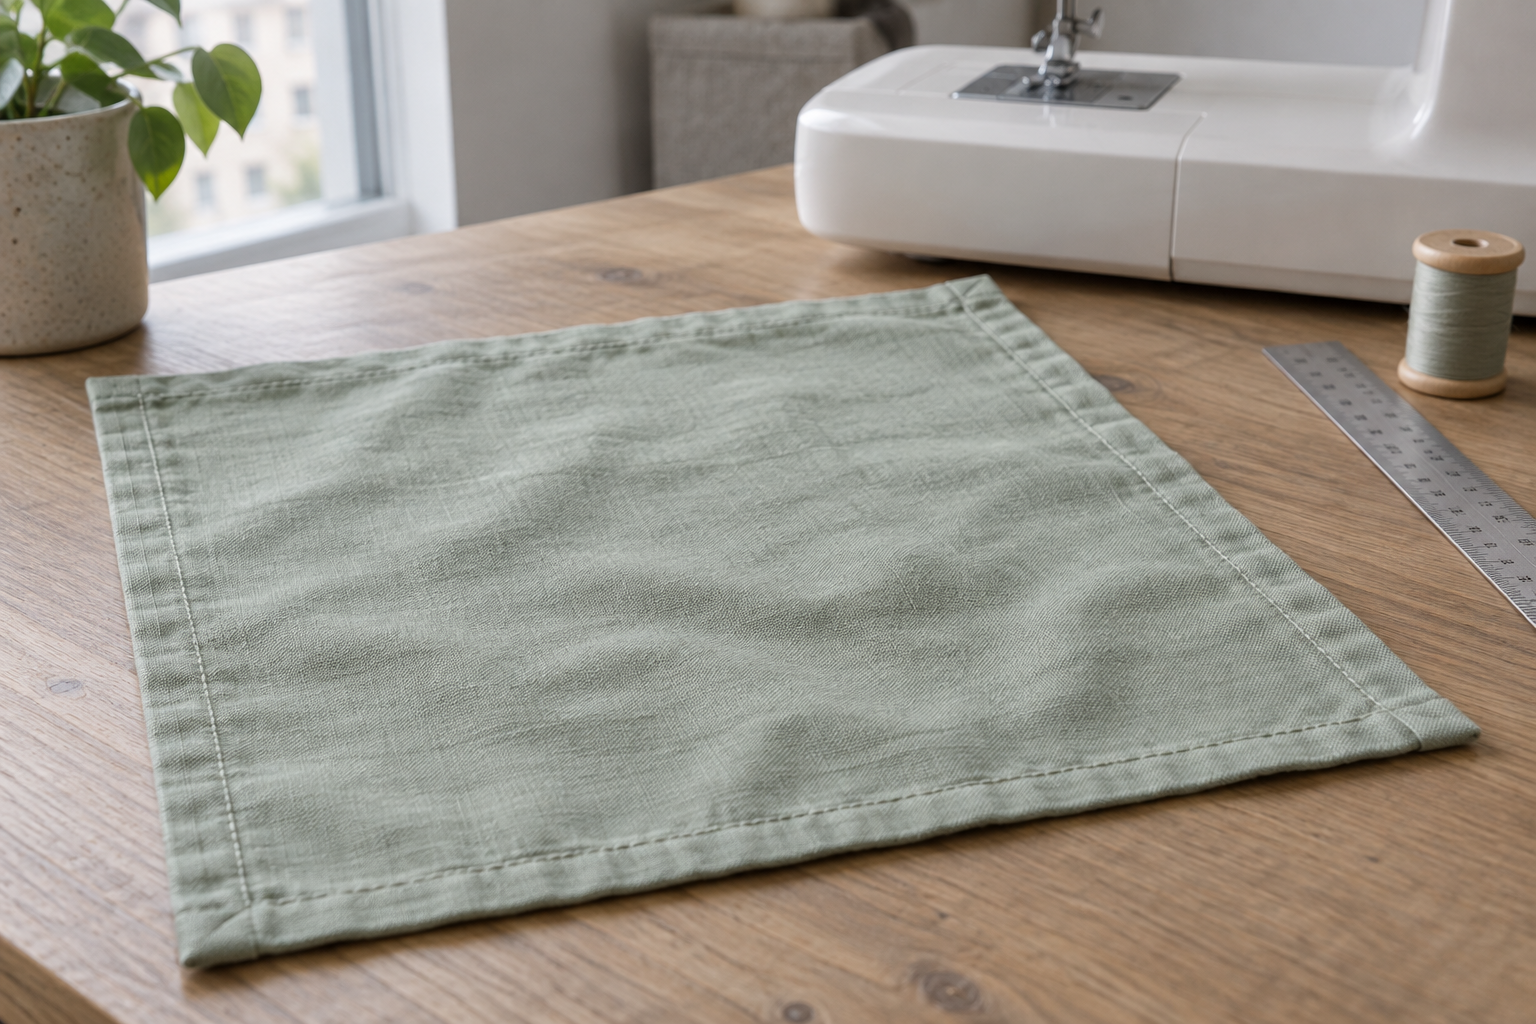
Editorial status: Researched. We used sewing guidance and a manufacturer manual to inform this article. The dimensions, overlapping-corner sequence, and review checklist are Hobby-ist's proposed exercise; the editorial team did not sew or wash-test this napkin. The AI cover illustrates the idea and is not a photograph of a tested result.
Sources & verification
Information checked: 2026-10-06