Ideas
One Window, Three Ways to Photograph the Same Object
Try front light, side light and back light with one ordinary object. Compare shadow, texture and shape, then make one small change to your favorite setup.
By Hobby-ist Editorial Team · 7 min read · October 6, 2026
In this story
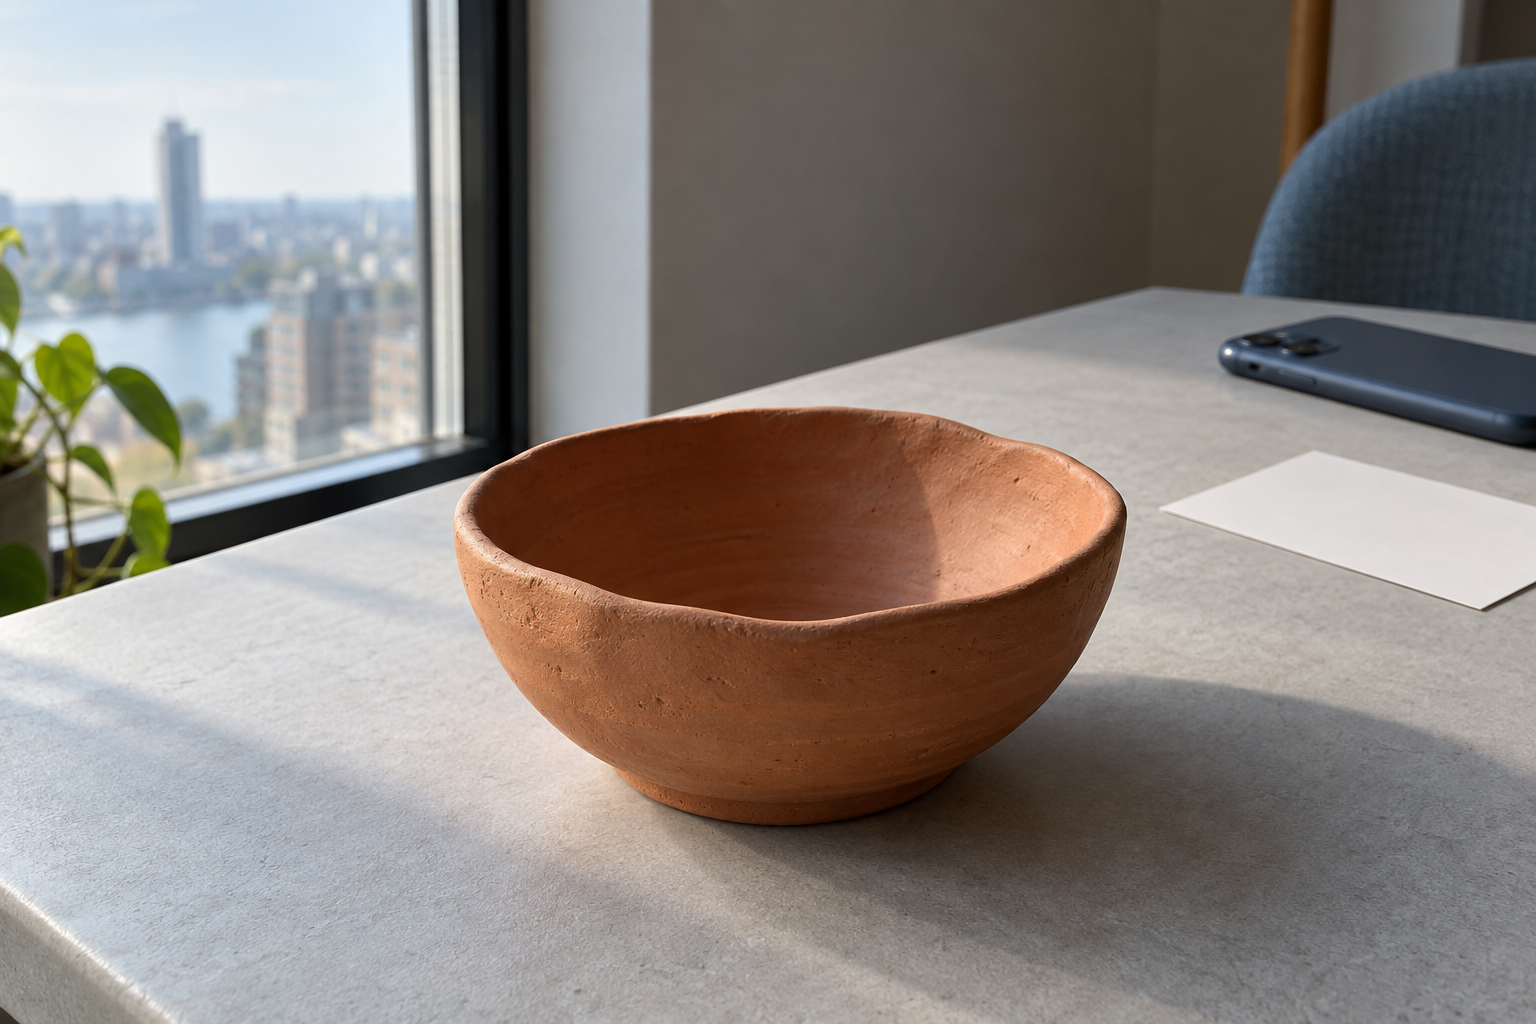
A small bowl can look like a record of what you made, a study of texture, or a dark shape against a bright room. You do not need three lamps to explore the difference. One window and three camera positions are enough to begin.
This project asks you to photograph the same object with front, side, and back light, then choose a look for a purpose. It is a practical observation exercise, not a published camera test. Your photographs will supply the comparisons; the cover is an AI-generated illustration of a setup.
Set out one object and a small working space
Choose a stationary, matte object with visible texture: an unglazed bowl, a folded linen napkin, or a wooden spoon. A shiny metal object can work, but its reflections introduce another variable. Start with something you can turn and move comfortably.
- Your phone, with a clean camera lens.
- A stable table or movable board near a window.
- One object and a plain surface underneath it.
- A secure phone stand if you already own one, or a comfortable supported handheld position.
- Paper for notes and, optionally, a piece of white card for a later variation.
Turn off nearby room lights for the first set so you can identify the window's contribution. Choose a period when light is reasonably steady. If direct sun makes a very sharp shadow, either keep that condition throughout or wait for softer light; do not switch between sun and shade without recording it.
Nikon's home food-photography guide discusses light direction and how daylight changes over time. We are adapting those lighting ideas into a phone exercise with one ordinary object, rather than copying its camera settings.
Define direction from the camera's position
“Front” means the side facing the camera, not the side of the bowl you happen to call its front. Think of the object as the center of a clock. The camera starts at six o'clock, looking toward the object.
- Front light: the window is broadly behind the camera, toward six o'clock, lighting the face you see.
- Side light: the window is to the camera's left or right, roughly nine or three o'clock.
- Back light: the window is behind the object, toward twelve o'clock, opposite the camera.
These are approximate positions, not angles you must measure. To use one fixed window, move the camera around the object. Leave space to work without leaning over a sill. If the room prevents a position, move the whole setup and note the change in distance from the window.
Keep the object on the same marked spot where possible. Put a small removable mark outside the photographed area to indicate camera distance. Keep the camera height, chosen lens, and the object's size in the frame similar. A different background may enter as you move; note that rather than calling the images identical except for lighting.
Choose a simple camera routine
Start with the rear main camera, usually 1×, and ordinary Photo mode. Use the same lens throughout; avoid portrait effects, filters, and pinch zoom for this set. Tap the same feature for focus at each position, and step back if the phone cannot focus at your chosen distance.
For your first round, let the camera set exposure automatically and record any brightness adjustment. This shows how your phone responds in ordinary use, but it does not isolate light direction: automatic exposure, white balance, and image processing can all change.
For an optional second round, use exposure and focus lock if your app supports it. Apple's camera-tools guide describes AE/AF Lock by touching and holding the focus area. Other apps may behave differently. Confirm that the lock remains active after repositioning, keep the camera-to-subject distance consistent, and check focus again.
A lock is not a promise of fully manual capture or identical processing. If it leaves one direction too dark or too bright, record that result first, then make a separately labeled adjusted version. Do not mix automatic, locked, and edited frames into one unexplained comparison.
Make your first three photographs
A: Front light, for a clear view of the object
Place the camera so the window is broadly behind it. Your body or phone may block the light, so check the object's face for a new shadow. Move slightly to one side if needed and write “slightly off-center front light” in your notes.
Photograph the same feature you will examine in the other views: the bowl's rim, a seam, or a line in the wood. Look for how visible the surface is and whether shadows reveal its depth. Front light can make the visible face easy to read, but it may show less shadow contrast than the side view. Let your picture answer that question.
B: Side light, for a study of texture
Move around the object until the window is beside the camera's view. Keep the camera height and distance similar to A. Watch where the bright surface becomes shadow: is the transition broad and gradual or narrow and abrupt?
Look at tiny ridges as well as the large cast shadow on the table. Side light can make some surface relief more noticeable, depending on the object's texture and the size and direction of the light. Do not brighten the shadow before recording what you see.
C: Back light, for shape and separation
Move to the opposite side so the window is beyond the object. Keep the phone aimed at the object, not directly at the sun. Inspect the rim or outer edge and the front face separately. The outline may stand out while the visible face becomes darker; reflective edges and translucent materials behave differently from a matte bowl.
If the bright window fills much of the frame, the automatic camera may change exposure substantially. Take the ordinary frame first. Then, if useful, tap the object or adjust brightness and take a second frame marked “C adjusted.” A silhouette can be a deliberate result; it does not have to be repaired.
Use a comparison sheet that asks four questions
Write one line for each frame with: file name; time; window direction; distance from window; camera/lens; automatic or locked exposure; any adjustment; and whether the weather changed. These notes help you repeat a photograph you like.
Open the originals at similar viewing sizes, with editing turned off. For A, B, and C, answer:
- Shadow: where does it fall, and how gradual is its edge?
- Texture: which grooves, stitches, or surface marks can I see?
- Outline: does the object separate from the background?
- Bright detail: can I still distinguish the lightest rim or surface, or has it become a plain bright patch?
Add a fifth question: “What would I use this photograph for?” A clear record of a finished project and an expressive picture of its shape do not need to look the same. Pick a purpose before picking a favorite.
You can give each picture a short description instead of a numerical score: “easy to see the whole bowl,” “strong texture on the left,” or “dark face, distinct outline.” These are prompts for your own observations, not expected findings you must reproduce.
Change one thing in the picture you choose
Return to the position you preferred. If its shadow feels too heavy, place white card outside the frame on the shadow side, facing the window. Take one picture without the card and one with it; leave the other conditions as steady as possible. The card reflects available light, so the amount of change depends on its placement and the scene.
Alternatively, turn the object slightly, change camera height, or move farther from the window. Choose just one variation. Label the new file and note why you tried it. If clouds or sunlight change during the pair, repeat when the light settles or keep the pair with a weather note.
If detail is smeared rather than hidden in shadow, pause the lighting exercise and use our indoor phone-photo troubleshooting guide. Light direction and camera movement are different questions, and you will learn more when you can see the edges clearly.
Finish with a small series you can repeat
Keep the three original direction studies plus your chosen variation. Once you have made the observations, you can crop or edit a separate copy for sharing. Our photo editing guide helps you decide which tools you need; preserve the unedited originals as the record of this exercise.
Write one sentence beneath the series: “For my next finished project, I want to try ___ light because ___.” You have learned something useful even if you choose front light for a clear record and side light for a different mood. Next time, use another material in the same positions and see whether your preference changes.
The finished work is a small set of photographs and a reason for your choice. That is enough for one afternoon: an ordinary object, one window, and a little more attention to where the light comes from.
Sources & verification
Information checked: 2026-10-06