Getting Started
Your First Sewing-Machine Session: Threading to Three Straight Seams
Start with a scrap, not your best fabric. Follow your model's threading instructions, practice three short seams, and decide whether to move on or ask for help.
By Hobby-ist Editorial Team · 5 min read · October 6, 2026
In this story
The first useful thing your sewing machine makes does not have to be a finished bag. It can be a scrap with three short seams that you can start, stop, and inspect. That gives you a reference before your favorite fabric is on the table.
Why we chose this first session: a small woven-fabric sample lets you separate setup from project design. Our editorial choice is to learn control and notice problems before adding corners, fasteners, or a pattern.
Who this session is for—and when to choose help
This is for an adult beginner using a functioning domestic sewing machine, with the exact model manual available. It suits a first trial with ordinary medium-weight woven cotton. Choose a plain, stable scrap rather than slippery fabric, stretch knit, bulky denim seams, or a treasured garment.
If you cannot identify the controls, do not have the right manual, or suspect damage, start with a teacher or service provider. This article is a practice framework, not a universal threading diagram or a repair guide. Our self-study versus beginner-class guide can help you identify the support you need.
Prepare one sample, not a shopping basket
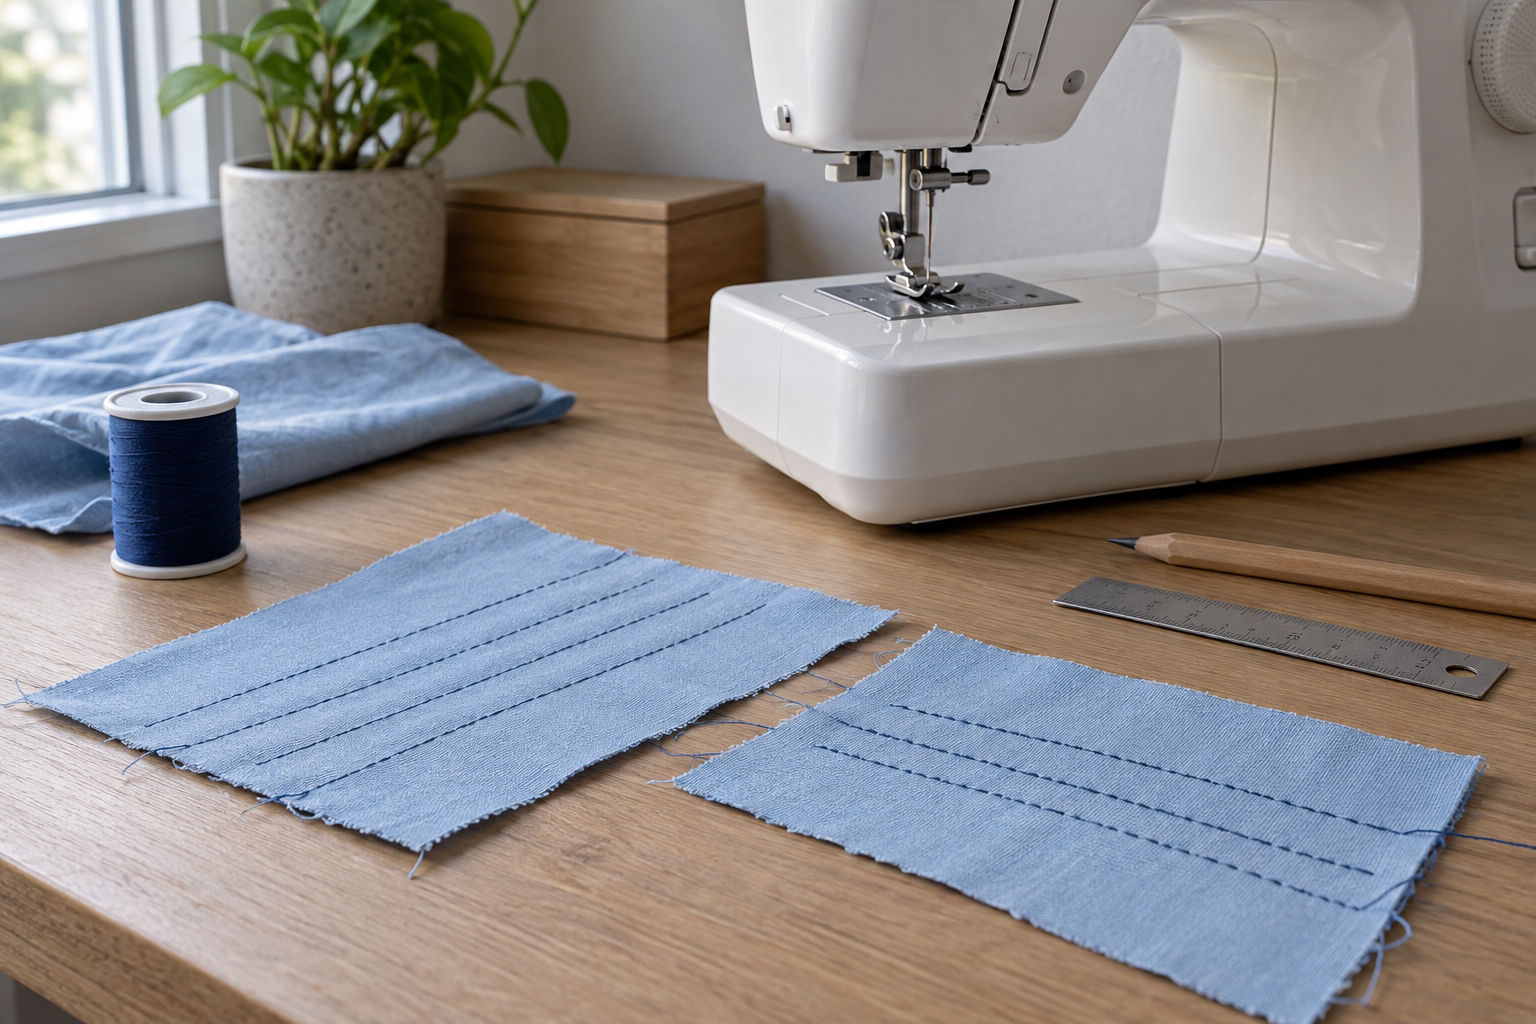
Use two scraps of plain woven cotton about 15 × 20 cm (6 × 8 inches). These dimensions are an editorial suggestion, not a machine requirement. Add compatible thread, the correct bobbin, a needle suited to the fabric according to your manual, a ruler, and a removable fabric-marking tool tested on a scrap.
Mark three parallel lines about 10 cm (4 inches) long, spaced far enough apart to inspect separately. Leave fabric around the lines; for this exercise you are following marked lines, not sewing at a raw edge. Keep scissors and other loose objects off the pedal and away from moving parts.
Place the machine on a stable table, with the pedal positioned so you can release it comfortably. Check the power connection and voltage requirements in the manual. Read its safety instructions before operating. Switch off for needle-area setup and adjustments as your manual directs, and unplug for cleaning or servicing tasks where instructed.
Find these pages in your own manual first
- Needle installation and the needle/thread/fabric chart.
- Bobbin winding, insertion, and lower-thread preparation.
- Upper-thread routing and needle threading.
- Straight-stitch selection, the required presser foot, and recommended starting settings.
- Starting, securing the ends, stopping, and removing fabric.
The Janome 7318 manual is one example with separate setup and basic-sewing sections. Use it only for that model; it is not the instruction book for every Janome or every mechanical machine.
If the machine is unfamiliar, have someone show you the presser-foot lever, handwheel, reverse or securing control, and stop method. Screens and dial layouts differ. Our first sewing-machine guide explains which controls to compare if you are still choosing a machine.
Thread slowly, then check the route
Wind and insert the specified bobbin in the direction shown for your model. Follow its lower-thread preparation rather than copying another machine's drop-in or front-loading process. Some models require bringing up the bobbin thread; others use a different preparation.
For the upper thread, follow every guide and the take-up lever shown in the manual. Brother's threading guidance emphasizes raising the presser foot and take-up lever before feeding the upper thread on the covered machines. Check the corresponding instructions for yours instead of assuming the route or needle-threading direction is identical.
Our practical recommendation is to trace the route once more before sewing, even if the thread appears to reach the needle. Reaching the needle is not proof that every guide was used. Do not tighten tension simply because the first attempt looks untidy; recheck setup first.
Sew three lines with three purposes
Select the manual's ordinary straight stitch and compatible foot. Use its recommended starting settings for your sample fabric rather than a universal tension number. Check that normal fabric feeding is enabled. Keep pins out of the needle's path and fingers clear of the moving needle.
- Line A—start and stop. Place the fabric as your manual describes, lower the presser foot, and begin slowly. Sew part of the line, release the pedal or use the instructed stop control, then resume. Follow the model's directions for securing the beginning and end.
- Line B—guide, do not pull. Follow the next marked line at a comfortable pace. Watch the guide ahead of the needle. Let the machine feed the fabric rather than pushing or pulling it through.
- Line C—repeat the setup. Pause, check that the stitch and foot are still correct, then repeat. The aim is a second controllable result, not a faster seam.
Finish and remove the fabric using your manual's sequence. Do not yank it away while a needle or thread is still holding it. If the machine jams, stalls, or makes an unusual impact sound, stop rather than pressing harder.
Inspect the sample before making a project
Turn it over. Check for loose loops, skipped stitches, uneven spacing, puckering, and whether both layers traveled together. A slightly wandering line is useful practice feedback; a repeated thread tangle calls for a setup check.
- Loose loops: stop and recheck upper threading, bobbin insertion, and the required setup. Do not diagnose a tension setting from one side alone.
- Skipped stitches: check the manual's needle compatibility, condition, and installation instructions. Switch off before needle-area work.
- Fabric not feeding: check that the foot is lowered and the machine is configured for ordinary sewing.
- Continued jamming or striking: stop using it and seek model-specific help. Avoid dismantling mechanisms to finish this exercise.
Write the model, fabric, needle, thread, stitch settings, and the change you made next to the sample. Change one condition at a time. If an adjustment requires instructions you cannot confidently follow, take the sample and notes to a teacher or technician.
Our next-step judgment
Hobby-ist's recommendation: move to a small woven project when you can repeat a short seam, stop when you intend to, and inspect both sides without unexplained tangles. A perfect ruler-straight line is not the entry ticket.
If you still spend the session clearing jams, choose a setup lesson before another pattern. If the seams work but drift, keep the same inexpensive scraps and practice guiding. That distinction can save you from buying accessories for a problem that needs a different kind of help.
Keep the sample as a reference and put recurring thread, fabric, and lessons in your hobby cost plan. Next time, repeat one line before starting your project.
Editorial status: Researched. This guide was prepared from manufacturer instructions and editorial planning; our team did not test a machine for this article. Sample dimensions and the three-line exercise are our proposed practice, not tested performance results. Use your exact manual for operating instructions.
Sources & verification
Information checked: 2026-10-06