Gear & Picks
Your First Sewing Machine: Mechanical or Computerized?
Look beyond stitch counts. Compare the controls you will use, try a short sewing demonstration, and budget for a setup you can comfortably return to.
By Hobby-ist Editorial Team · 6 min read · October 6, 2026
In this story
The first project is modest: a cloth napkin with four straight sides. Then the machine listings appear—mechanical, computerized, dozens of stitches, automatic features—and that small project suddenly feels like a technical purchase.
Start with the sewing you want to do and the controls you can use comfortably. This guide compares common operating differences and offers a shopping exercise. It is based on official specifications, not hands-on testing or a ranking of the machines mentioned.
Start with three projects, not a stitch count
Write down three things you realistically want to make or repair. For example: cotton napkins, a lightweight woven tote, and a shirt hem. Name the fabric and the thickest seam each project involves. “Sewing clothes” is too broad to guide a first purchase.
For simple woven projects, useful starting functions include straight stitch, adjustable stitch length, reverse or a suitable securing function, and a way to finish raw edges such as zigzag. A buttonhole matters if your actual projects need buttons. Sewing stretchy knits or crossing bulky seams introduces different demands; ask for a demonstration on the relevant material.
Do not count decorative stitches as substitutes for control, feeding, or service support. Nor does a domestic sewing machine automatically replace a serger or become an embroidery machine because it has a screen.
What mechanical and computerized usually mean
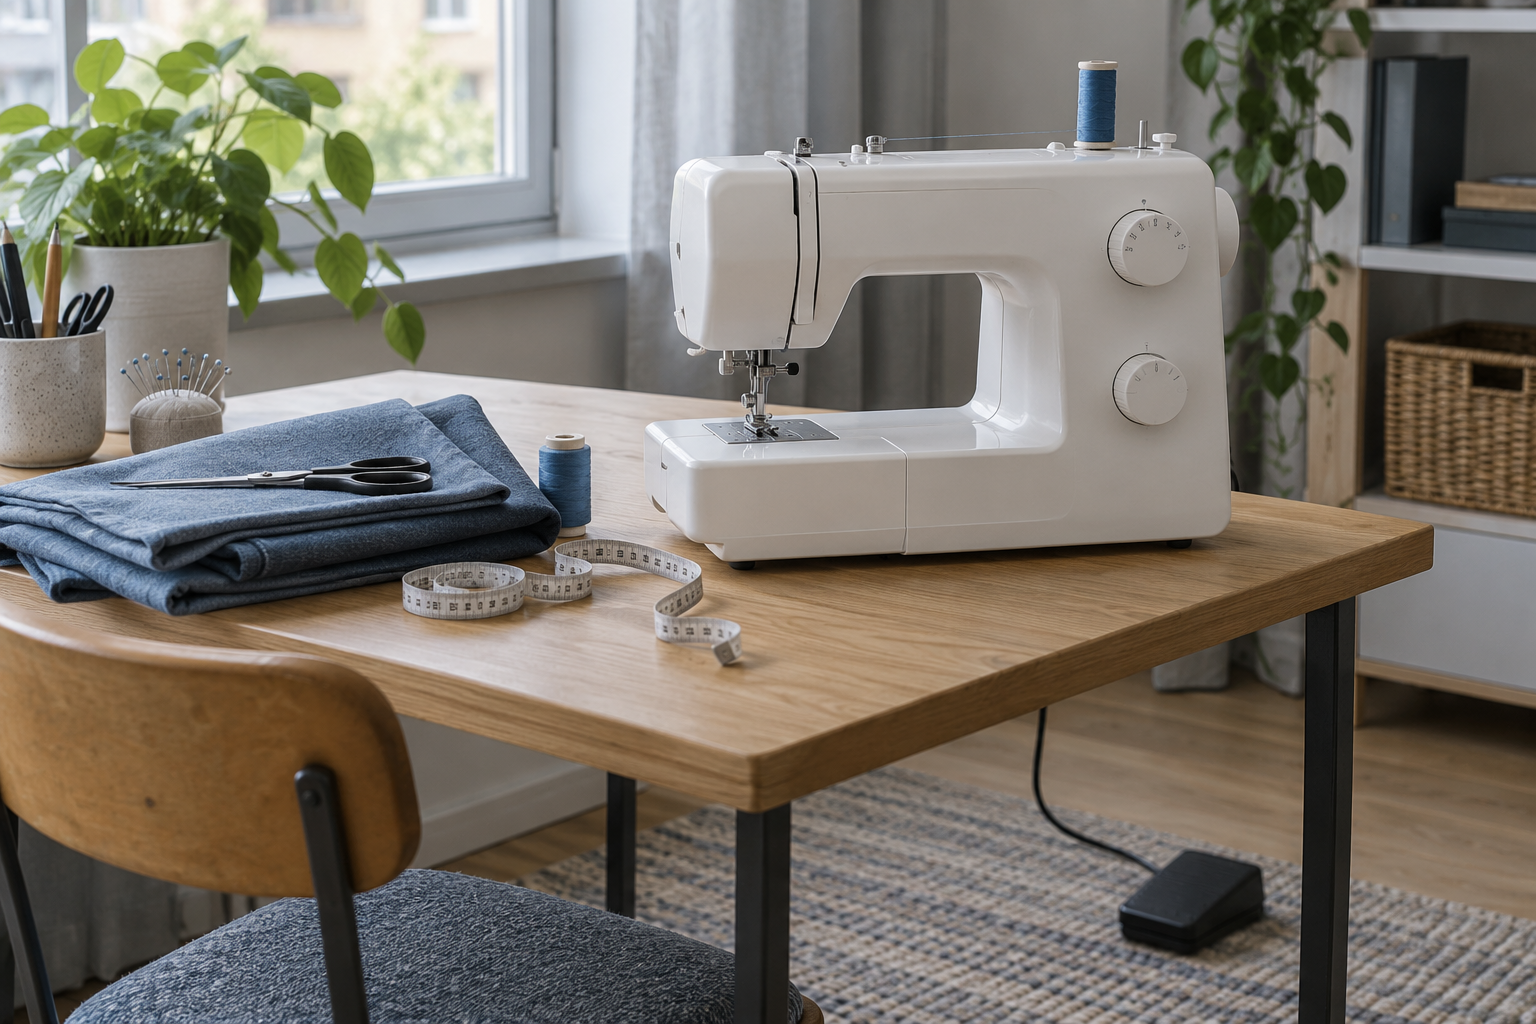
On a typical mechanical domestic machine, you select the stitch and adjust settings with physical dials or levers. The machine can still use an electric motor and electronic components. “Mechanical” does not mean hand-powered or free of electronics.
A computerized model commonly uses buttons and a display to select stitches and show or adjust settings. Depending on the model, it may also provide a speed limit, a needle-position button, or automatic securing functions. It still needs correct threading, an appropriate needle, and suitable fabric handling.
These labels describe broad control approaches. They do not prove that one machine sews a straighter seam, handles thicker fabric, lasts longer, or costs less to repair. Check the actual model and local support.
Compare five controls you will use repeatedly
- Stitch selection and adjustment: on dials, can you read the markings and distinguish length from width? On a display, can you find the setting without losing your place in menus?
- Starting slowly: try starting and stopping a short seam with the pedal. If a speed slider is present, ask whether it limits pedal speed, button-operated sewing, or both.
- Stopping at a corner: check how you position the needle in the fabric before pivoting. Some machines offer a needle up/down button or a remembered stopping position; others require the handwheel, used as the manual directs.
- Securing the seam: locate reverse or the appropriate locking function, and find out which stitches support it. An automatic feature does not eliminate the need to understand what the machine is doing.
- Threading and bobbin access: follow the threading route and remove and replace the bobbin yourself. Top-loading and front-loading systems are separate choices from mechanical versus computerized control.
Janome's G+I computerized model, for example, lists a speed slider and needle up/down button. This is evidence of those features on that model, not a promise that every computerized machine includes them.
Equally, the Janome HD-5000 mechanical model lists a one-step buttonhole and adjustable presser-foot pressure. Automatic buttonholes are not exclusive to computerized machines. Manufacturer examples here illustrate overlapping features; they are not purchase recommendations.
Try a short, repeatable demonstration
Ask a dealer or class provider whether you may test suitable scraps under supervision. Bring fabric similar to your planned projects, not just a very easy sample selected for the display. Have the demonstrator choose a compatible needle, thread, and settings, then ask what they changed.
- Thread it: follow the manual and see whether you can repeat the route after the demonstration. Switch off for needle-area tasks as instructed by the machine manual.
- Sew a straight sample: start slowly, stop, and resume along a marked line. Guide the fabric without pulling it through.
- Secure the ends: try reverse or the relevant locking function and inspect both sides for loose loops, skipped stitches, or puckering.
- Turn a corner: stop, place the needle as required, raise the presser foot, pivot, lower it, and continue. Note how many steps you can follow comfortably.
- Cross a representative seam: use only a thickness the demonstrator confirms is appropriate. Do not force a stalled machine.
- Try a needed specialty function: if you plan shirts, make a buttonhole with the recommended foot. If you plan knits, test the suggested stitch on the actual type of fabric.
Use comparable samples on each candidate. Record the exact model, fabric, needle, thread, settings, and who prepared the machine. A successful store sample establishes what happened in that setup; it does not guarantee every future fabric combination will work.
Make a comparison card for two candidates
For each model, write these six lines. Mark “not confirmed” where a seller or manual has not answered.
- My projects: the required straight, zigzag, stretch, or buttonhole functions are present and demonstrated.
- My controls: I can select, adjust, start slowly, stop, and secure a seam.
- My routine: I can thread, access the bobbin, and follow the cleaning instructions.
- My space: dimensions, weight, pedal position, ventilation clearance, and storage fit my table and room.
- My support: the manual, local service route, parts availability, warranty terms, and return conditions are clear.
- My total: machine, applicable tax, delivery, required accessories, starter materials, and any planned lesson are included.
A “no” on an essential requirement should not be canceled by ten decorative features. If both meet your needs, compare the steps you found comfortable and the total commitment. You do not need to invent a numerical score.
Budget for the first usable setup
A machine's included accessories vary by model, seller package, and market. Confirm the pedal and power supply, required feet, correct bobbin type, needles, and any included cover. Do not assume an accessory described as universal fits your machine.
Ask what maintenance the manufacturer expects you to do and what requires service. Oil only where and when the manual specifies. For a used machine, include inspection or servicing, missing parts, and transport before comparing its cost with a new one. Service prices and repair prospects need a local quote, not a prediction based on the word mechanical.
Our rent-before-buying guide can help if you want to try a class or borrowed machine first. Keep future consumables and lessons visible with the hobby running-cost guide.
Choose the machine you can return to
A dial-based machine may suit you if you like visible physical settings and its pedal control feels manageable. A computerized model may suit you if a verified speed limit, clear display, or needle-position feature removes a difficulty in your actual work. Those are reasons to test particular models, not rules for every beginner.
Before paying, complete one sentence: “I chose this model because I can comfortably ___, it handles my planned ___ project, and I know where to get ___.” If the blanks are still guesses, arrange another demonstration or introductory class.
Your first machine does not need to cover every hobby you might have someday. It needs to make the next small sewing session possible: a setup you understand, a seam you can control, and help you can find when you get stuck.
Sources & verification
Information checked: 2026-10-06