Getting Started
Acrylic Paint Drying Too Fast? Find Where You Are Losing Working Time
A dry palette, thirsty paper and a half-set brushstroke are different problems. Diagnose the place first, then compare a covered palette, prepared support or the right medium.
By Hobby-ist Editorial Team · 6 min read · October 21, 2026
In this story
If acrylic paint dries before you can blend it, first find where the working time disappears. Paint forming a skin on the palette calls for a different response from paint disappearing into unprepared paper. A brush dragging through a half-set passage is a third situation. Adding more water to all three can make the diagnosis harder, and it will not turn fully dried ordinary acrylic back into fresh paint.
Our preferred order is to check the setup, make a small comparison, then consider an additive. That order is inexpensive and useful because it tells you whether you need to preserve paint before it reaches the picture or change what happens after the brush touches the surface. A bottle labeled slow-drying is not a substitute for knowing which part is rushing you.
Start with the place, not the stopwatch
Look at the palette. Is a thin spread already rubbery while the center of a paint mound remains wet? Now look at the support. Does the first stroke lose its wet appearance almost immediately, especially on bare paper? Finally, notice the brush: does it begin smoothly and later pull small ridges or crumbs through a passage you keep revisiting?
These observations suggest different starting checks, not a laboratory identification. If you see more than one, choose the earliest point in the process that fails. Fresh paint cannot help much if it is already skinned before you pick it up. A good palette cannot fully solve a support that immediately draws moisture away from the stroke.
GOLDEN’s technical notes on acrylic drying distinguish surface skinning from drying through the paint film. A surface that feels dry is not necessarily cured throughout. The practical consequence is simple: do not use a touch-dry thick passage as proof that it is ready for pressure, stacking, packing or another treatment with a specified waiting period.
If the palette is drying first
Move out of direct sun and away from air blowing straight across the paint. Keep appropriate room ventilation; you are changing a draft at the working surface, not sealing yourself into an unventilated room. Put out a modest mound of the color you are using rather than spreading every mixture into a very thin film over a large area.
For a short break, a suitable covered palette can reduce exposure. A moisture-retaining palette can help maintain a humid environment around paint, but use materials designed for that purpose and follow their preparation directions. A sheet floating in a puddle is not the same setup. Excess water can change the mixture you meant to preserve.
Do not stir a dry skin into the fresh center and expect it to disappear. Remove the unusable portion and take fresh paint. If a mixture repeatedly becomes rough before reaching the brush, the first improvement to test is keeping a smaller working area protected, rather than adding a new ingredient to every color.
If the support takes the moisture
Very absorbent paper changes the problem. Water can leave the paint into the support as well as into the air. GOLDEN describes a case in which adding water on unsealed paper made the paint lose workable moisture more quickly rather than solving the issue. A compatible prepared surface is therefore worth testing before concluding that the paint itself is unusably fast.
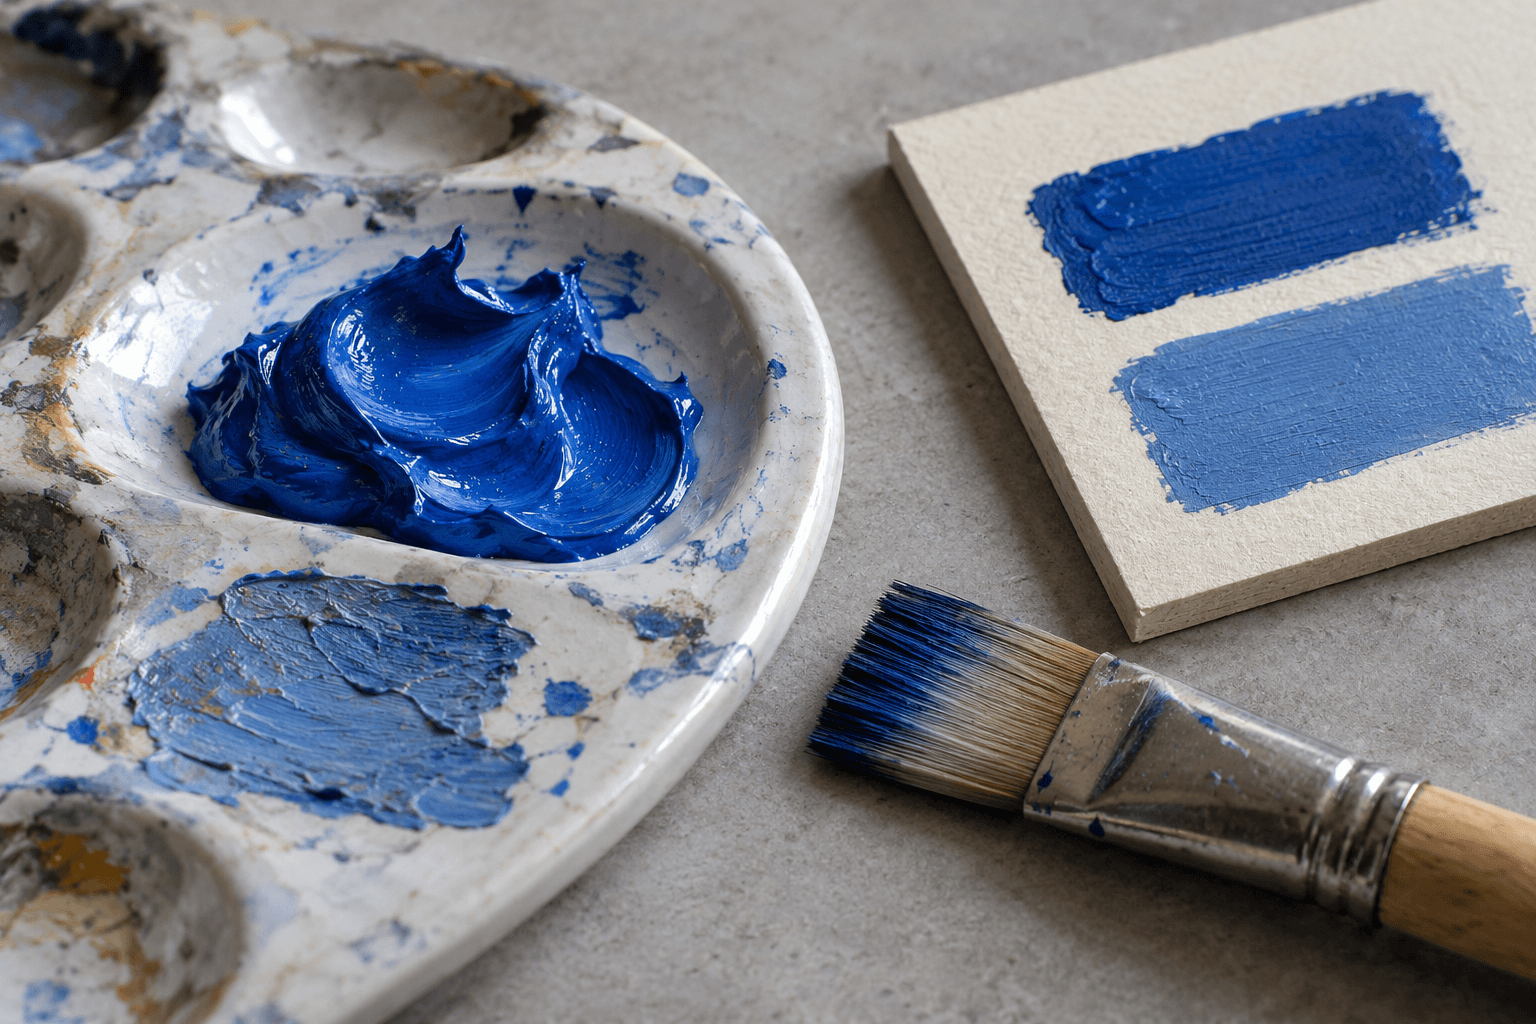
Use a scrap of the same support for a comparison. Leave one area as it is and prepare the other with an acrylic medium appropriate to that support, following its directions and allowing the preparation to dry as required. Apply the same paint in similar strokes. Do not change the brush, paint mixture and room position between the two sides or the comparison will answer several questions at once.
Our suggested test is two small rectangles, not a finished painting. Put the same modest quantity of fresh paint on each and try one gentle blend at the same point in your process. Notice resistance, pickup and whether the brush begins lifting an underlying layer. The aim is a useful difference you can repeat, not a universal claim that one surface stays wet for a particular number of minutes.
If you keep returning after the paint has started to set
Sometimes the problem is the plan for the passage. A broad gradient takes longer to work than a small flat shape. If you keep crossing a tacky area, the brush may disrupt what was beginning to settle. Stop, let the layer dry sufficiently, then repaint the transition instead of scrubbing harder through it.
Before the next attempt, mix the neighboring colors first and choose a smaller area. Work while the edge is still usable rather than leaving one color to wait while you search for the next. This does not require racing through a painting. It means arranging the work so a fast-drying material is not asked to behave like a much slower one.
For crisp shapes, rapid drying can be useful. If you like layering small, separate marks, you may not need longer open time at all. If your main pleasure is repeatedly blending a large wet passage, a slower acrylic system may suit the task better. Choose around the picture you want to make rather than assuming that maximum wet time is always the goal.
Medium, retarder and slower paint are different choices
An acrylic medium contains binder and can change handling while extending the paint. A retarding additive is used to adjust drying behavior and may have a strict recommended limit. Follow the exact product directions; there is no single spoonful ratio that is safe to apply across every brand and paint system. An excess can leave a weak or persistently tacky result.
GOLDEN’s OPEN drying guidance describes a system specifically designed for longer working time. Its product notes also warn that thick applications have different drying behavior. That tradeoff matters: a paint that remains workable longer may be a poor choice when you need quick layering or an object ready to handle soon. Test a small passage before committing an entire project.
Avoid home recipes assembled from unrelated household additives. If a paint still drags after a careful setup change, compare a suitable medium on a scrap according to its label, keeping an untreated control. A useful note would be “same support, same paint; medium added on the right,” rather than a vague impression that the whole session felt easier.
Know what improvement should look like
Success is enough uninterrupted time for the passage you intend, followed by drying behavior you can accommodate. It is not paint that never sets. If the brush moves well but the mixture runs out of control, you solved one problem by making another; reduce the change and test again. If the problem moves from palette to support, that is information rather than failure.
Our watercolor color-mixing guide also separates a visible result from its likely causes, though watercolor rewetting should not be transferred to ordinary acrylic. For a material that rewards simple repeated shapes rather than prolonged blending, the leaf-rubbing project offers a different kind of mark-making.
We would buy an additive only after one small test shows what it needs to solve. You may need a better-protected palette, a different support or simply a passage divided into smaller decisions. Once the cause is visible, the paint stops feeling like a timer you are always losing to.
Sources & verification
Information checked: 2026-10-21