Getting Started
Why Does My Crochet Magic Ring Keep Opening? Closing Is Only the First Step
A ring that will not close and a ring that reopens later are different problems. Check the moving strand, the first-round stitches and the way the tail is secured.
By Hobby-ist Editorial Team · 5 min read · October 20, 2026
In this story
You pull the tail, the center closes, and a few rounds later the hole is back. It is tempting to pull harder next time. First ask when the problem begins: a ring that never closes needs a loop check; one that reopens needs a finishing check. That distinction gives you somewhere useful to start.
The magic ring gives you an adjustable center. It still needs the starting tail secured after you have drawn that center closed. Before cutting a project apart, trace the loose end and see which stage stopped working. A small repair is easier when you know what you are repairing.
Find out when the hole appears
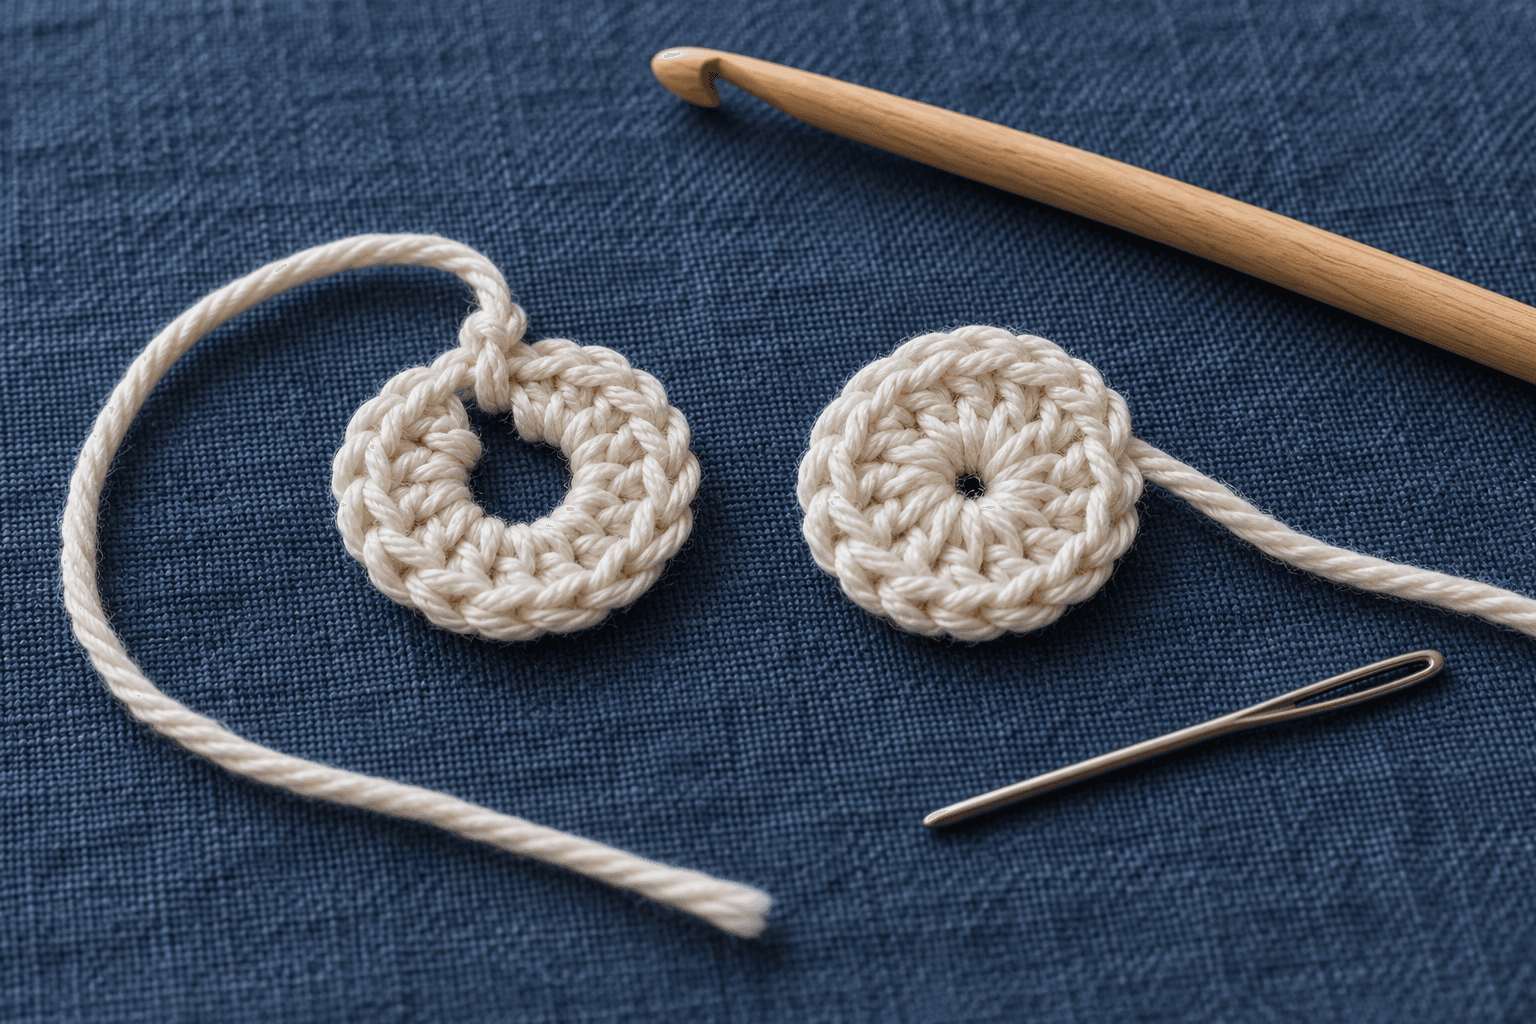
Set the work down with the starting tail visible. The working yarn leads to the ball or the next stitch; the starting tail is the loose end used to adjust the center. Pull the tail gently while holding the first-round stitches. Watch the center, not only your hands. Does the center shrink, does the live loop on your hook change, or does nothing move?
If only the live loop changes, you are manipulating the working yarn rather than the center’s adjusting tail. If the tail moves but the center does not respond, examine the initial loop and stitch placement before pulling harder. If it closes correctly now but opens after handling, go directly to the finishing step below. Mary Maxim’s formation and tightening guide helps distinguish the two strands.
For a sample, use smooth, light-colored medium-weight yarn with its recommended hook. Give yourself strands you can see. You can return to the dark or fuzzy project yarn once the moving loop makes sense; there is no advantage in learning the mechanism and searching for hidden stitches at the same time.
Make one small sample you can read
For this separate practice exercise using US crochet terms, leave a starting tail around 15–20cm long. Form an adjustable loop, draw the working yarn through it with the hook, and chain one to set up single crochet. In this exercise the setup chain is not counted as one of the six stitches; follow a purchased pattern’s own counting instructions when you return to it.
Work six single crochets into the large adjustable ring, enclosing both the ring strand and starting tail. For each single crochet: insert the hook through the ring, yarn over and draw up a loop, then yarn over and pull through both loops on the hook. Work into the ring space rather than repeatedly into the tiny setup chain. The Interweave illustrated ring guide is useful alongside the text.
Mark the first actual single crochet. Before closing, spread the stitches enough to count six top V shapes. Six stitches, one setup chain and a loop on the hook are not eight completed stitches. A marker is particularly helpful because the first stitch can become small and partially hidden when the center tightens.
Hold the stitches and pull the starting tail a little at a time. Watch the center gather. If the yarn catches, pause and trace the tail through the ring before trying again; binding yarn and a misplaced strand need different responses. Getting this tiny movement right is more useful than winning a tug of war with the sample.
Secure the tail while you can still reach it
Closing the visible hole is the beginning of finishing. Sarah Stearns’s magic-ring tutorial explicitly includes weaving in the starting tail to prevent the ring from coming undone. Carrying the tail inside the first round can help conceal it, but do not assume that alone is a durable final finish for every yarn and use.
Use a tapestry needle to take the tail through the backs of several nearby stitches without pulling the center out of shape. Change direction and work back through neighboring stitch structure, keeping the path hidden on the wrong side. Leave enough length to do more than one short straight pass. The exact route depends on the yarn, stitch density and project; inspect both sides as you work.
Keep the tail long enough to adjust while you gently spread and handle the sample. If the opening grows or the tail slides back, improve its route through the stitches before trimming. You are checking that the center stays closed without your hand holding it there. Yarn and washing conditions still affect the lasting finish.
Match the repair to the failure
If the center never closes, review the loop and which strand is moving. If it closes but reopens, review finishing. If the yarn breaks during tightening, stop using the same force: Stearns notes that chenille and other fuzzy yarns can bind or break, and discusses alternative approaches. Practice the mechanism in smoother yarn before returning to a difficult fiber.
A very short tail changes the repair. If this is still a small sample, restarting with enough length may be simpler than fighting the last centimeter. On a larger piece, inspect the remaining yarn and the pattern’s structure before choosing a repair. Leave intact stitches alone while you decide; a smaller-looking hole is not worth creating another weak point.
If you proceed in continuous rounds, use the marker to identify the first stitch of the next round. In a simple practice continuation, two single crochets in each of the six stitches produce twelve stitches. Joined-round patterns have their own joining instructions. Do not add a slip stitch merely because you have reached the marker if the pattern calls for a spiral.
Our crochet-width troubleshooting guide addresses another counting trap at row edges. The first crochet project guide helps choose a project where you can practice a starting method without managing many new techniques at once.
A ring that stays closed has three things working together: a loop that moves, stitches placed around it and a tail secured afterward. Find the missing part, and the next attempt becomes a specific adjustment. That is a much kinder—and more useful—way to read a small hole in your crochet.
Sources & verification
Information checked: 2026-10-20