Getting Started
Why Your Indoor Phone Photos Look Blurry—and What to Try First
Is it your hands, your subject, or the focus? Read the blur, try a six-photo exercise, and find one change that helps your next indoor picture.
By Hobby-ist Editorial Team · 6 min read · October 6, 2026
In this story
You finish a knitted swatch, put it on the table, and take a quick photo. The color looks close enough, but the stitches disappear into a soft blur. Before shopping for a better camera, look at which part of the picture lost its detail.
Indoor blur can come from a moving phone, a moving subject, missed focus, or several problems together. This guide helps you choose the next change to try. The practice sequence is an editorial exercise for your own phone, not a report of a device test.
1. Read the blur before changing settings
Open the original photo in your gallery and enlarge it enough to inspect a recognizable edge: lettering on a book, a mug handle, or a row of stitches. Compare the subject with something stationary nearby. Avoid judging from a small messaging-app preview, which may be compressed.
- Several stationary edges look doubled or streaked in a similar direction: camera movement is a useful first suspect.
- The background is clear but a hand, pet, or turning face is smeared: subject movement is more likely. Steadying the phone will not stop that movement.
- Something behind the subject is sharp while the subject is soft: check the focus point and shooting distance.
- Bright lights have a hazy glow across the picture: check the lens for fingerprints before changing exposure.
- The image has grain or flattened texture without obvious streaks: low-light noise and processing may be involved. That is different from simple hand shake.
These are clues, not a diagnosis from one image. Portrait-mode background blur can also be intentional. For the exercise below, use ordinary Photo mode so an added background effect does not confuse the comparison.
2. Reset the simple things
Gently wipe the camera lens with a clean, soft lens cloth. Choose the rear main camera, usually marked 1×, as a starting point. Avoid pinch zoom for this first comparison; zoom behavior and lens switching differ by phone.
Tap the part you want sharp if your camera app supports touch focus. For a knitted swatch, choose a clearly textured stitch rather than the blank tabletop. If the phone cannot focus very close, move back until detail becomes clear in the preview. A closer camera position is not automatically a better close-up.
Take one ordinary Photo-mode picture before changing several controls. Note whether a low-light mode has turned on automatically. Keep the same camera, framing, subject distance, and brightness adjustment while testing support; otherwise you will not know which change helped.
3. Support the phone through the whole capture
Hold the phone with both hands, keep your elbows near your body, and settle into a comfortable stance. At a table, resting your forearms on a stable surface can reduce movement. Press gently rather than jabbing the shutter and immediately lowering the phone.
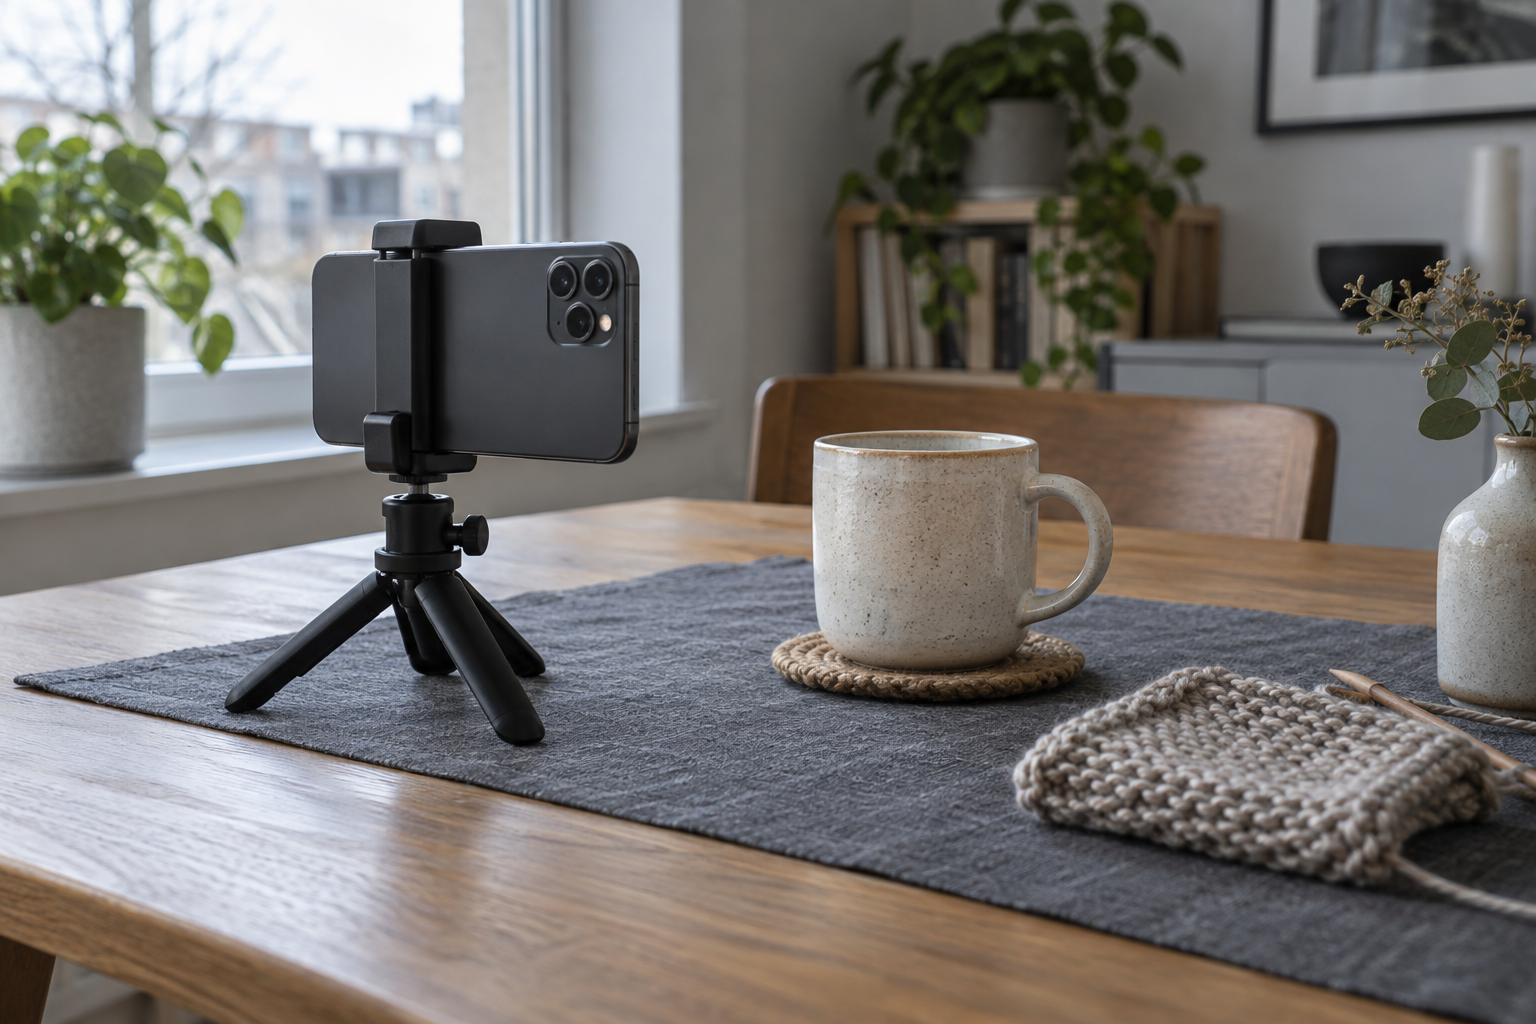
For a stationary object, a secure phone stand is another option. Check that it cannot tip and that the clamp does not press a side button. Keep the phone away from the table edge. A vibrating table or a hand resting against the stand can still disturb it.
Use a short self-timer if the app offers one, then remove your hands from the setup. The delay lets movement from pressing the shutter settle. It does not shorten the exposure or freeze a moving person. Apple documents timer controls in its camera-tools guide; control locations vary with the app and software version.
If you need a stand, our smartphone tripod guide covers fit and stability. Try the support you already have before making a purchase.
4. Use night mode for the right subject
A supported phone may spend several seconds gathering a low-light photograph. For a mug or a finished craft project, that can be useful if the phone and subject stay still. Wait until capture finishes, not just until you hear the shutter sound.
Apple's Night mode guidance recommends keeping the phone steady, including on a secure surface or tripod. Google's Pixel Night Sight guidance likewise tells you to hold still during capture. Those instructions apply to their supported devices; do not assume every Android phone has the same controls.
For someone moving, first try a brighter location or ask for a brief pause. Compare ordinary Photo mode with the low-light mode if your app allows it. Longer capture is not a universal sharpness upgrade: the phone can remain steady while the person changes position.
A night-mode countdown is not the same thing as the self-timer. The first concerns capture time; the second delays when capture begins. Neither display should be treated as an exact single-frame shutter-speed readout.
5. Give the subject more light
In daylight, move the object toward a window and turn it so its important texture receives light. Check the screen: a bright window behind an unlit object may leave the object looking dark. Try placing the window beside or in front of it instead.
At night, move a lamp so light falls on the subject rather than only on the wall behind it. Avoid blocking the light with the phone. Changing the lighting can also change color and shadows, so make a new comparison instead of assuming that brighter always looks better.
More light can let an automatic camera choose a shorter exposure, but the app still decides how to process the scene. Dragging a brightness slider is not a reliable substitute for adding light or a guaranteed way to freeze movement.
6. A six-photo practice with one still object
Choose a stationary object with visible detail, such as a knitted swatch beside a mug. Keep it in the same place for shots A–D. Take two pictures per condition so you do not mistake one lucky frame for a repeatable improvement.
- A–B: your usual handheld position. Use the rear 1× camera and ordinary Photo mode. Tap the same detail for focus.
- C–D: add support. Keep the framing and camera mode as close as possible to A–B. Rest your forearms on the table or use a secure stand with a short timer. Record which support you chose.
- E–F: add light. Keep the support from C–D and move the setup nearer a window or reposition a lamp. Match the subject's size in the frame. Record any automatic mode change.
For each pair, write: file name; light source; handheld or supported; camera/mode; automatic night mode on or off; focus target; and what happened to the same edge. Compare all six at a similar viewing size. Do not sharpen or brighten them before evaluating.
If C–D improve, support probably helped in those conditions. If E–F improve further, the brighter setup deserves another try. If the background stays sharp but the subject does not, revisit focus or movement. Automatic exposure and processing can change between shots, so this is a practical troubleshooting exercise rather than a controlled laboratory comparison.
7. Choose the next action from the result
- Stationary objects improve with support: make the supported setup your routine for documenting finished work.
- A moving subject remains blurred: try more light, a pause in movement, and ordinary Photo mode before buying a tripod.
- The wrong distance stays sharp: retap the intended subject and back away if you are too close.
- Everything stays hazy: check lens cleanliness, obstructions, and another bright scene. If the problem persists across scenes, consult the phone maker's troubleshooting guidance.
- The original is clear but the shared copy is soft: compare export size and messaging compression before retaking the photo.
Once you have a clear original, use our free-versus-paid photo editing guide to decide what editing you need. Sharpening may change how an edge looks; it does not guarantee recovery of detail lost to movement.
Keep one improved photo and one sentence about what you changed. “I supported my forearms and waited until capture ended” is more useful for the next project than “my phone takes bad pictures.” Your first photography habit can be that small: notice one problem, change one condition, and look again.
Sources & verification
Information checked: 2026-10-06