Gear & Picks
How to Choose a Smartphone Tripod: Fit and Stability Before Height
Make room for the photograph you want to take. A practical checklist for phone cases, holders, shooting angles, and the accessories you may not need.
By Hobby-ist Editorial Team · 6 min read · October 6, 2026
In this story
You finally finish a small clay bowl. You put it by the window, prop your phone against a mug, and take a picture. The next angle is harder: the phone slides, the mug appears in the frame, and your hands are suddenly part of the support system.
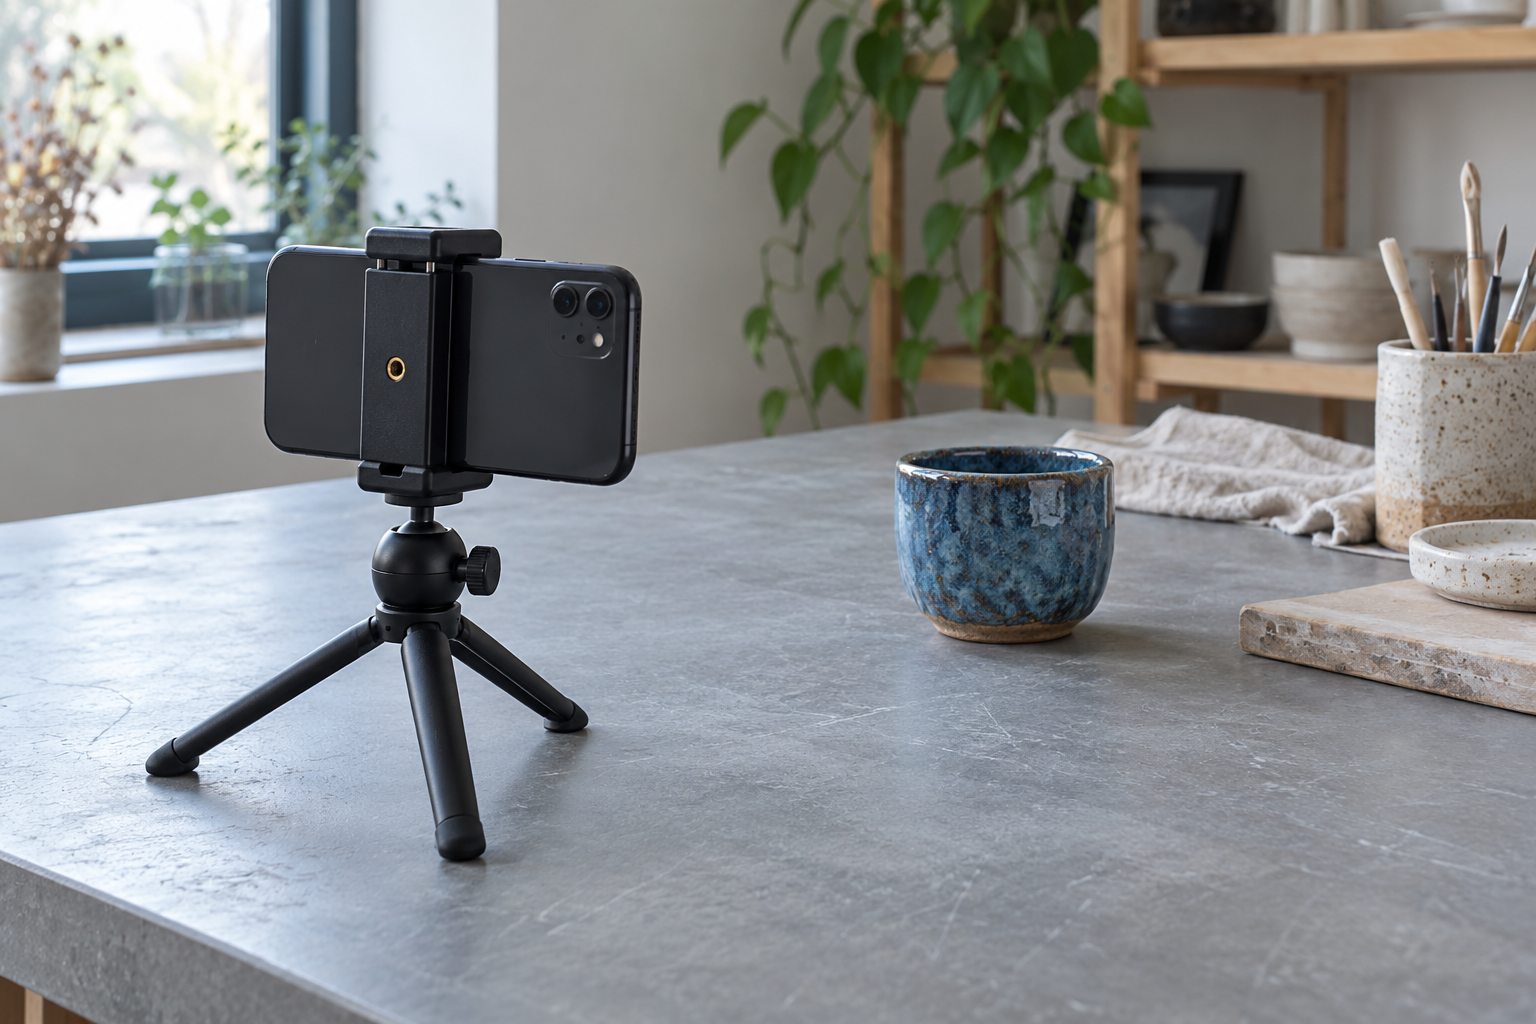
A phone tripod can make that small ritual easier. But the tallest model or the longest accessory list is not necessarily the right purchase. Start with the photograph you want to make, then check the connection between your phone, its holder, and the surface underneath it.
This is an editorial buying checklist, not a hands-on ranking. The measurements below are worked examples, not results from product testing.
1. Choose the camera position before choosing the tripod
Put the object you usually photograph where you would actually use it. Hold your phone at the desired angle and notice where the camera needs to be. Photographing a knitted coaster on a desk, recording yourself standing, and filming directly down onto a work surface are three different jobs.
- Small finished objects on a table: start by comparing tabletop tripods. Check whether the legs fit on your usable surface without reaching the edge, and whether the head can aim at the object.
- Standing demonstrations or portraits: compare floor tripods at the camera height you need. Maximum advertised height is less useful than the height at which you can comfortably operate the phone.
- Overhead craft demonstrations: look for a support specifically designed for that position. A standard tripod that tilts downward may still put its legs in the frame or place the phone too far off balance. Check the manufacturer's installation and load instructions rather than improvising an extended arm.
For a small apartment, outline the fully opened footprint with removable paper markers before buying. A tripod that fits when folded can still block your chair or walkway when it is doing its job.
2. Treat the phone, holder, and head as separate purchases
A listing may show a phone even when the package includes only the legs and head. Confirm exactly what is in the box: tripod, phone holder, any connecting plate, and any adapter needed between them. Check the connection specifications on both parts; the word “universal” does not settle every fit question.
For example, Manfrotto's MCLAMP listing describes a smartphone clamp with threaded connections. That illustrates why a holder has its own specifications, separate from the tripod beneath it. It is a specification-reading example here, not our tested recommendation.
Also check how portrait orientation works. Does the holder rotate, does the head tilt into a side slot, or is another part required? A setup that holds your phone horizontally does not automatically give you the vertical framing you want.
3. Measure the phone with the case you actually use
Look for the holder's supported width range and information about thickness or case compatibility. Measure the outside of your everyday case, not just the phone width on the manufacturer's phone specification page. Raised edges, a wallet attachment, and a finger grip can change how the jaws sit.
A simple fit example: imagine a phone body that is 78 mm wide and a case adding 2 mm on each side. The assembled width is 82 mm. A hypothetical holder with an 80 mm maximum opening is too small, even though the bare phone would fit. These numbers are illustrative, not specifications for a named product.
Width is only the first check. The contact pads should sit securely without pushing a side button, covering a camera, or resting precariously on a raised camera bump. If you must remove your case every time, count that extra step honestly: will you still bother on an ordinary Tuesday?
For magnetic holders, check the exact phone, case, and adapter combination the maker supports. Do not assume that any case advertised for magnetic charging is approved for every magnetic tripod mount.
4. Compare stability at the height you will use
Look for a clearly explained locking mechanism, a suitable footprint, and a load limit for the complete arrangement. Include the phone, case, holder, and attached accessories in your comparison. A stated load rating alone does not tell you how stable a long, sideways or overhead configuration will be.
At home, begin low over a clear, soft landing area and follow the manufacturer's setup instructions. Fully seat the holder and connecting plate, spread the legs as instructed, and support the phone with your hand until you are confident the locks are secure. Stop if anything slips or needs force to stay in place.
Then try the framing you bought it for. Can you turn the phone vertically without a leg lifting? Can you operate the screen without the frame drifting afterward? Are your sleeves or charging cable pulling on the setup? These are more useful questions than whether the tripod looks substantial in a product photo.
5. Diagnose the blur before adding accessories
A tripod holds the camera; it cannot keep a moving hand or turning pottery wheel still. If the background is sharp but your moving subject is blurred, buying a larger tripod may not solve the problem. Try a still subject first, more available light, and the camera's focus controls.
If pressing the shutter disturbs the framing, try the built-in timer before buying a remote. Apple's camera guide explains the timer, focus and exposure controls, and grid and level options for iPhone. Android controls vary by device and camera app; check your model's own guide.
For a repeatable comparison, take one photo by touching the shutter and a second using the timer, without changing the subject, light, or framing. Inspect the same detail in both. This is a useful home check, not a laboratory measurement of tripod performance.
Your five-minute buying worksheet
- My usual shot: tabletop object, seated process, standing portrait, or overhead work.
- Phone and case: outside width ___; thickness and protrusions ___; buttons or lenses to keep clear ___.
- Required position: camera height ___; horizontal/vertical ___; space for fully opened legs ___.
- Complete package: holder included? ___; matching connection/plate? ___; any essential extra part? ___.
- Actual cost and storage: total with essential parts ___; folded dimensions ___; where it will live ___.
Eliminate a candidate that fails a necessary fit or positioning check before comparing bonus features. Keep the product instructions and return conditions handy, and test your normal case and normal shooting angle promptly after delivery.
Give it one job on the first day
Set a handmade object beside a window and make three pictures: straight on, slightly above, and a close detail. Leave the phone support in the same place between attempts so you can concentrate on moving the object and noticing the light. The reward is not owning another gadget. It is having both hands free to make the picture you meant to take.
For a next project, try our one-color photo walk. A tripod is optional for that outing; carry only what helps you enjoy looking.
Sources & verification
Information checked: 2026-10-05