Getting Started
Your First Home Recording: From Microphone to Saved File
Record one voice, listen to a short test, and keep both an editable project and a playable file. A first-session plan before buying more recording gear.
By Hobby-ist Editorial Team · 6 min read · October 6, 2026
In this story
Your first home recording has a modest finish line: a short take you can hear, find again, and play outside the recording app. A desk full of equipment is less useful if you cannot tell which microphone recorded the sound or where the exported file went.
Why we picked this first session: one spoken paragraph makes the whole recording path visible without adding instruments, backing tracks, or mixing. Hobby-ist recommends proving that path before shopping for a studio. The timings and test script below are editorial exercises, not measured performance results.
Who this is for—and what to leave for later
This is for a beginner recording one voice on a computer. Start with a working built-in microphone, compatible headset, or USB microphone you already have. Audacity is the example used here; another recorder is fine if it lets you choose an input, listen back, and export a file.
This session does not cover a band, two separate speakers recorded simultaneously, or a finished music mix. Those need additional decisions. If you only want a private spoken reminder, a phone voice recorder may be enough. If you want to learn editing on a computer, completing this small desktop workflow is more useful.
Give yourself a practice slot with time to check the result. Our suggested allocation is five minutes for connections, five for testing, and ten for recording and saving—not a promise that a first setup will take twenty minutes. If the device is unfamiliar, our guide to self-study and beginner classes can help you decide whether a setup lesson would remove the obstacle.
Make one recording path work
Put the microphone on a stable surface and keep its cable clear of anything you will move. The official Audacity connection guide distinguishes a USB microphone connected to the computer from an XLR microphone connected through an audio interface. Follow your exact microphone and computer instructions for ports, adapters, and any required setup.
You do not need to buy both microphone types for this exercise. If you already own an XLR setup, use its manual for power and connection requirements; do not turn on a switch simply because a video did. If you have no external microphone, make a baseline with the built-in one before deciding whether its limitations matter.
Use headphones for the playback check at a comfortable level. For this first take, leave live input monitoring off: recording, stopping, and listening is enough. If you later enable monitoring, use the manufacturer's instructions and headphones rather than playing the microphone through room speakers.
Confirm the input before speaking for a minute
In the recording app, choose the microphone or interface as the recording input and your intended listening device as the playback output. The names may include a webcam, a laptop microphone, and virtual devices. A moving meter tells you that something is arriving; it does not prove you selected the microphone you intended.
Speak briefly with your intended microphone in its normal position, then listen to a short take. If the sound does not match the setup, check the selected device rather than recording more. If the microphone is missing, check the connection, your operating system's microphone access for the app, and the device's support instructions. Audacity also provides a device rescan.
For a single mono voice source, use a mono recording channel. Audacity's labels and layout vary by version, so follow the help for the version installed rather than searching for an identical screenshot. Creating two channels does not give a single voice a second performance.
Use a short test to choose your next change
Try this proposed script: “This is my first home recording. I want to hear the words clearly, and I want to find this file tomorrow.” Leave a few seconds without speaking, then say it at the loudest level you expect to use. Stop and replay it.
Audacity's microphone-level guidance says to watch the input meter and reduce the level if it reaches the top. Lowering playback volume later does not restore clipped recording peaks. Set the input before making the take you want to keep; do not aim for the biggest possible waveform.
Our suggested test sequence changes one condition at a time:
- A harsh or broken loud phrase: lower the recording input, repeat the same line, and compare.
- Words buried in room sound: first try a quieter time or position and a consistent microphone distance. Avoid buying a new microphone before finding out whether the noise remains.
- Thumps on certain consonants: try a slightly different speaking angle while keeping the microphone's intended pickup side facing you. Check the device manual.
- No sound on playback: verify both the recording input and playback output. Do not assume the absence of sound means a broken microphone.
Keep a simple note of the input name, microphone position, and change you made. A quieter recording can still need work; a louder one is not automatically better. This comparison is for your own next decision, not a microphone ranking.
Record a minute before adding effects
Once the test is usable, record roughly a minute about one hobby you want to try. Pause briefly and repeat a sentence if you lose your place. Save the original take before experimenting with trims or processing.
On the first listen, ask three questions: can I understand the words, does the loudest phrase remain clear, and did I record the whole intended passage? Then listen for interruptions you could avoid next time. Leave noise reduction, compressors, and music beds for a separate session. A first project with several effects can make it harder to identify the change that helped.
If the take is understandable but the room is obvious, you have learned a useful limitation. Keep it as a reference. If repeated setup work consumes the session, try a simpler recorder or get help with the device before adding more equipment. Our rent-before-buying guide offers a way to test gear when you have a specific problem to solve.
Keep an editable project and a playable file
These serve different purposes. A saved project lets you continue editing in the same software. An exported audio file lets you listen in another player or send a finished copy.
The Audacity 4 save guide describes its .aup4 project format and notes .aup3 projects from Audacity 3. Use the project format your installed version supports. For this exercise, save to a folder on your computer and note the location; cloud saving is a separate choice.
Then use the app's export command to make an audio file. Audacity's export guide distinguishes the full project from a selected region. Check that you are exporting the passage you intend. Our editorial choice is a WAV copy for this first local listening check; if you later share it, follow the destination's accepted format and size requirements.
A practical naming example is “first-voice-take-01” for the project and “first-voice-listening-01.wav” for the export. Open the exported file in another player, check the beginning and end, and confirm the folder before closing your session. Keep the project too. Renaming a project extension to .wav is not exporting.
Hobby-ist's next-step judgment
Keep the setup when you can repeat a clear take and reopen the exported file. Next time, improve one audible problem or practice one edit. Upgrade only when you can describe the limit you want to remove. Put any planned accessories or lessons into your hobby cost plan rather than treating every studio desk photo as a shopping list.
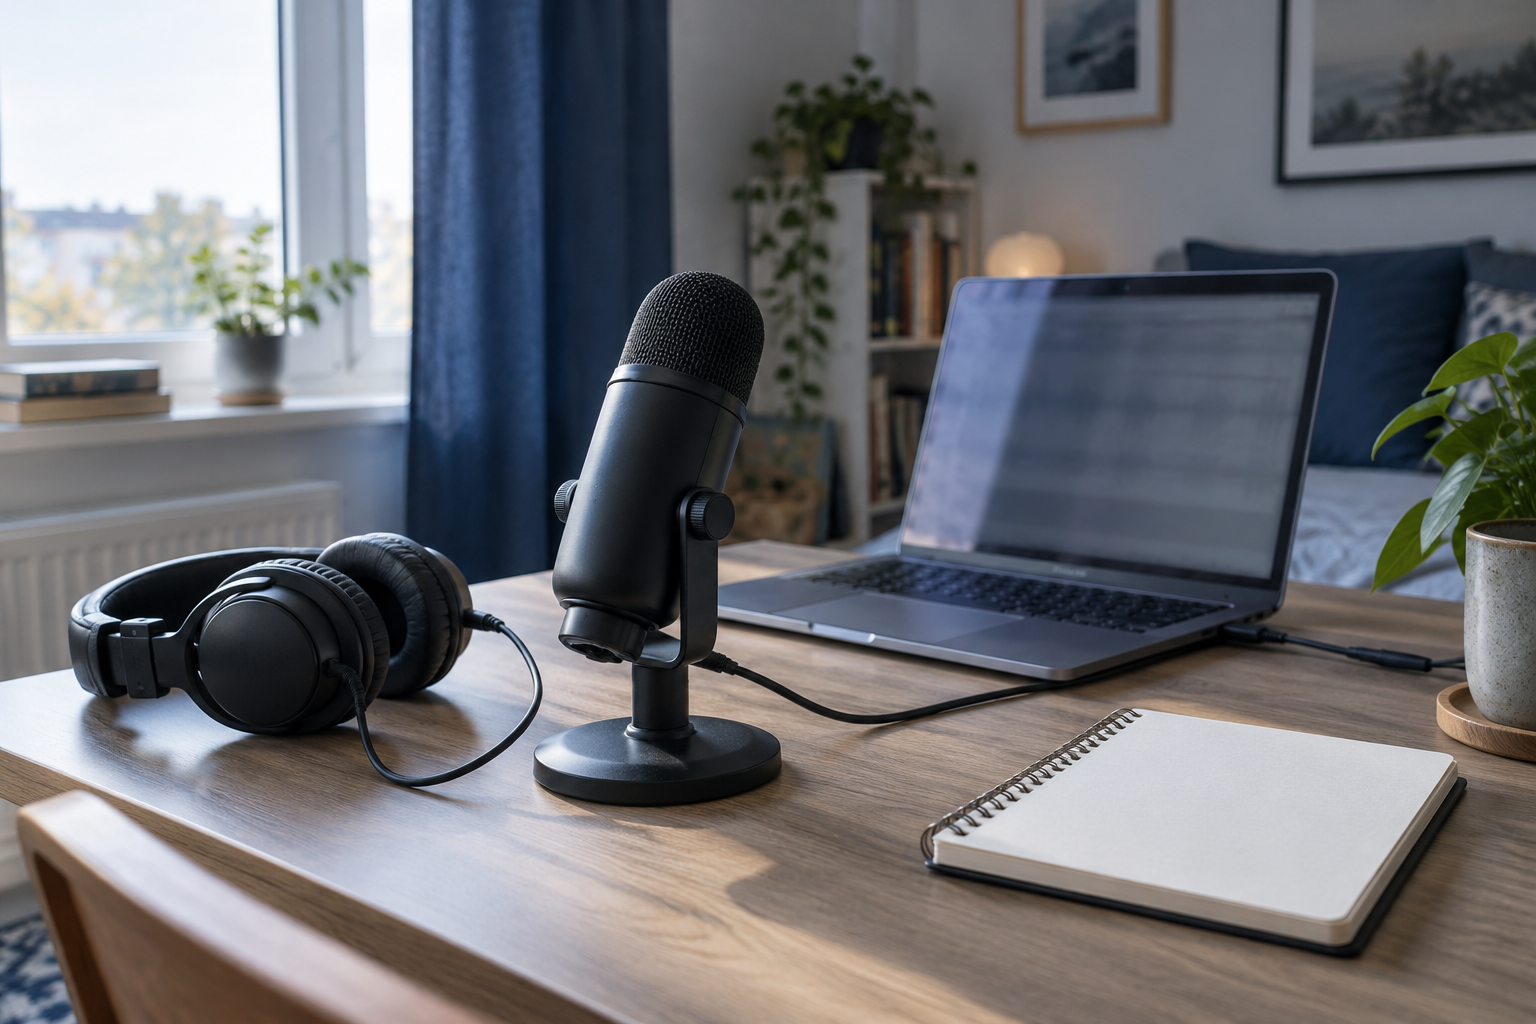
Editorial status: Researched. This guide combines official Audacity documentation with Hobby-ist's proposed practice sequence. The editorial team did not test microphones or conduct a recording session for this article. The AI cover illustrates a setup and is not evidence of a product test.
Sources & verification
Information checked: 2026-10-06