Gear & Picks
Grow Lights for a Small Herb Shelf: Compare Size, Mounting and Timers
Measure the plants and shelf before choosing a lamp. Compare coverage, height adjustment and timer behavior for a setup you can actually maintain.
By Hobby-ist Editorial Team · 7 min read · October 6, 2026
In this story
A small herb shelf does not need the largest grow light you can fit above it. It needs a light that can illuminate the plants at a usable height, stay securely installed, and fit your watering and daily routine. Before comparing prices, measure the space and decide which herbs you want to keep there.
Why we picked this comparison: a lamp that looks compact in a listing can become awkward once pots, growing leaves, a power supply and your hands occupy the shelf. Hobby-ist compares installation and coverage before decorative style. This is a researched buying framework, not a hands-on lamp review or a promise of harvests.
Confirm the growing job before buying a light
Start with one or two herbs and a realistic goal: maintaining a purchased plant, raising seedlings, or growing enough leaves for occasional cooking. These are different jobs. Record the useful window light at the intended location and season rather than assuming every bright-looking room provides the same plant light.
If you have not chosen the plant or container, start with our seeds-versus-starter-plants guide. A lamp does not correct every watering, drainage, temperature or root problem. If a healthy herb is already doing what you need at the window, buying a light may add little value.
This project suits a small indoor collection you can inspect regularly. It is less suitable if you cannot provide a stable mounting position, a dry place for electrical components, or a schedule that works for the room. A different shelf or fewer pots can be a better first change than another lamp.
Measure the usable space, not just shelf width
Write down shelf width and depth, pot-and-saucer footprints, present leaf height, and the space above the leaves. Allow for plant growth, the fixture itself, its specified clearance, and access for watering and maintenance. Measure at the tallest plant, not only from the shelf surface. Include any frame feet or clamps that occupy the shelf.
Sketch the arrangement on paper. As an example, a 60 × 30 cm shelf with two pots still needs room for saucers and your hand to remove one pot. These are planning dimensions, not a tested layout. A fixture that fits across the shelf may still miss leaves near the front or sides.
Check the available height adjustment and whether it can be used after installation. A fixed low shelf can become unsuitable as a plant grows. Avoid solving that by bending plants around the fixture or ignoring the product's installation instructions. Also inspect where the cord and power supply will sit before treating the arrangement as finished.
Compare three practical fixture formats
An overhead light bar: worth considering for a row of pots when the mounting points and coverage match the shelf. Its limitation is installation: confirm permitted mounting methods, cord routing and height adjustment. A long bar is not automatically enough for the entire shelf depth.
A clamp or adjustable-arm light: useful when the shelf offers a secure compatible edge and the lamp can reach the intended plants. Check clamp dimensions and whether the arm holds its position. The clamp, arm and light spill can become inconvenient in a shared room. Do not assume one illuminated pot means the neighboring pot receives comparable light.
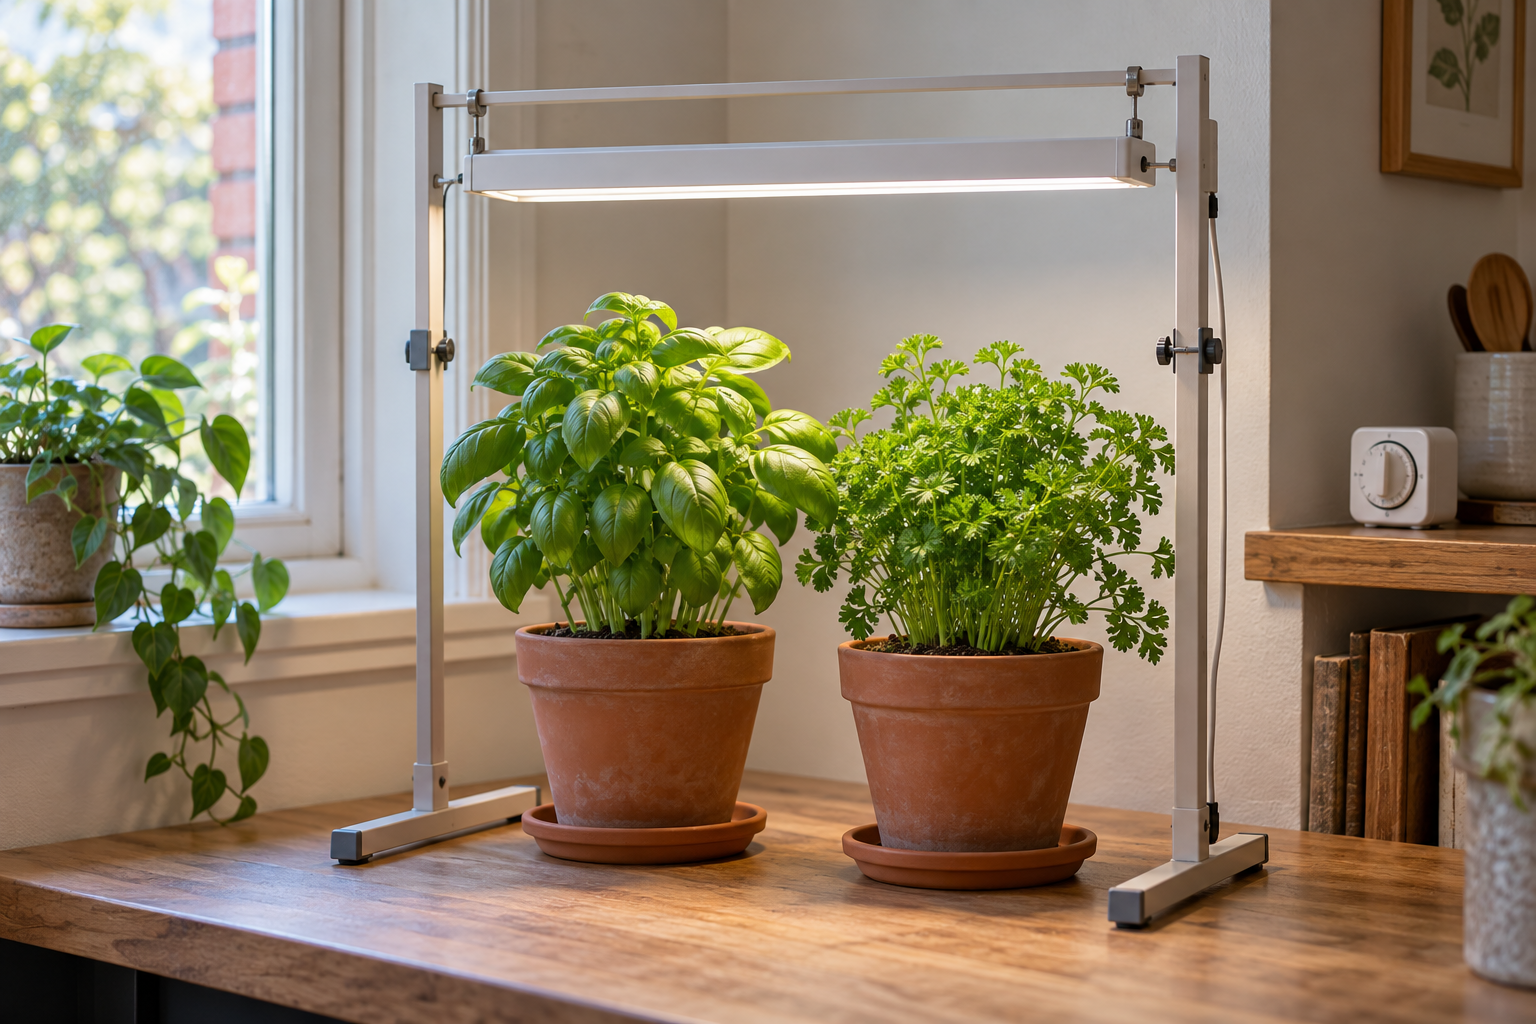
A freestanding tabletop frame: useful when you want to avoid attaching a fixture to furniture. Include the base footprint and maximum useful plant height in the comparison. Its fixed growing area may be easier to plan, but can limit taller herbs or larger pots. An integrated timer is convenient only if its schedule suits your use.
Hobby-ist's preference: for a narrow row, shortlist an adjustable overhead arrangement before several separately aimed lamps. Choose a freestanding frame when furniture mounting is the main obstacle. These are layout judgments; neither format guarantees sufficient light or better plant growth.
Ask for coverage at the intended leaf height
The University of Minnesota's indoor lighting guide distinguishes power use from light available to plants: watts describe energy use, while lumens describe brightness to human vision. Neither the largest wattage claim nor the phrase “full spectrum” alone tells you how evenly your pots will be lit.
Look for usable coverage information at a stated distance and settings, ideally measurements across the area rather than one central figure. If a listing gives PPFD, check its measurement conditions; PPFD describes plant-useful photon intensity arriving at a surface. A value at the center at one distance is not a guarantee for every leaf on the shelf.
Use the candidate fixture's guidance for placement and adjustment; do not turn a general distance recommendation into a universal rule. UNH Extension's lighting fact sheet explains how intensity changes with distance and why runtime estimates depend on the actual light reaching the crop. Its seedling examples do not establish a setting for every mature herb or lamp.
If the seller provides no meaningful coverage or placement information, that is a comparison disadvantage. A photograph of vigorous plants is not a measurement. Ask what is documented rather than using the appearance of the listing as proof.
Compare the timer's behavior, not only its presence
Iowa State's indoor herb lighting guidance gives a 12–16-hour light schedule. Treat it as general guidance, not a reason to run every lamp for 16 hours regardless of daylight, species, plant stage or intensity. Choose a schedule appropriate to the plant and setup and retain a daily dark period.
For each candidate, check whether the timer offers clock-based on/off times or an interval that begins when you press a button. Does it repeat daily? Can it provide the schedule you need? What happens after power is interrupted? Read the manual for those details. A fixed cycle may be simple but unsuitable for the room's routine.
If using an external timer, confirm that it is compatible with the fixture and its power supply, and whether the lamp actually resumes operation when power returns. Do not assume a lamp with an electronic button will do so. Where supported by the instructions, check that behavior before leaving the schedule to run unattended.
Place the light period where glare least interferes with sleep, screens and shared space. A timer makes operation repeatable; it does not measure whether plants received enough light. Increasing runtime cannot repair every coverage problem, and continuously lighting the shelf is not our starting recommendation.
Plan watering, running cost and the first review
Keep electrical components away from the watering path and follow the exact product's indoor-use, clearance and mounting instructions. As a model-specific example, the TG101 tabletop-light manual says electrical components should not be exposed to water and specifies a built-in 16-hour-on, 8-hour-off cycle. Those instructions and that cycle belong to that product, not to every light.
Include the light, permitted mounting parts, timer if needed, and any required power supply in the purchase total. Check the actual input power rather than an “equivalent wattage” headline. An illustrative 20 W device used for 14 hours daily for 30 days consumes 8.4 kWh; multiply by your applicable electricity rate for an estimate. This is arithmetic, not a measured lamp result or a local electricity quote.
Use our hobby budget guide for continuing costs. If the setup may be temporary, our buying-versus-borrowing guide can help you decide whether ownership suits the experiment. Check seller return conditions before purchasing; we have not verified current prices or availability.
After installation, record plant position, leaf-to-light distance, schedule and a dated photo. Recheck mounting, timer operation and watering access. Review new growth over time while also checking the other growing conditions. If you change the setup, record one change at a time where practical. Our proposed log is for comparison; it is not a tested cultivation protocol or a guarantee of diagnosis.
Hobby-ist's final judgment
Choose the smallest documented setup that covers your actual plants and remains easy to adjust and care for. If you cannot explain coverage, mounting and timer behavior, keep comparing before buying. Start with two pots you can observe rather than filling the shelf and discovering that the usable growing area is smaller than the display.
Editorial status: Researched. We consulted university Extension guidance and a product instruction manual. The layout comparisons, shopping questions and review log are Hobby-ist's editorial assessment; the team did not measure these lights or run a herb-growing trial. This article has no affiliate links. The AI cover illustrates a possible arrangement and is not evidence of lamp performance or plant growth.
Sources & verification
Information checked: 2026-10-06
- https://extension.umn.edu/garden-and-home/yard-and-garden/gardening-in-minnesota/lighting-for-indoor-plants
- https://extension.unh.edu/resource/growing-seedlings-under-lights-fact-sheet
- https://yardandgarden.extension.iastate.edu/faq/how-can-i-provide-more-light-my-herbs-indoors
- https://www.gardeners.com/globalassets/8615142tg101---adjustable-wire-tabletop-grow-light---instructionmanual.pdf