Ideas
Air-Dry Clay for Beginners: Make a Small Trinket Tray
A small piece for your shelf, and a reason to put your phone down. Shape your first decorative tray, make room for drying and choose one simple finish.
By Hobby-ist Editorial Team · 5 min read · October 3, 2026
In this story
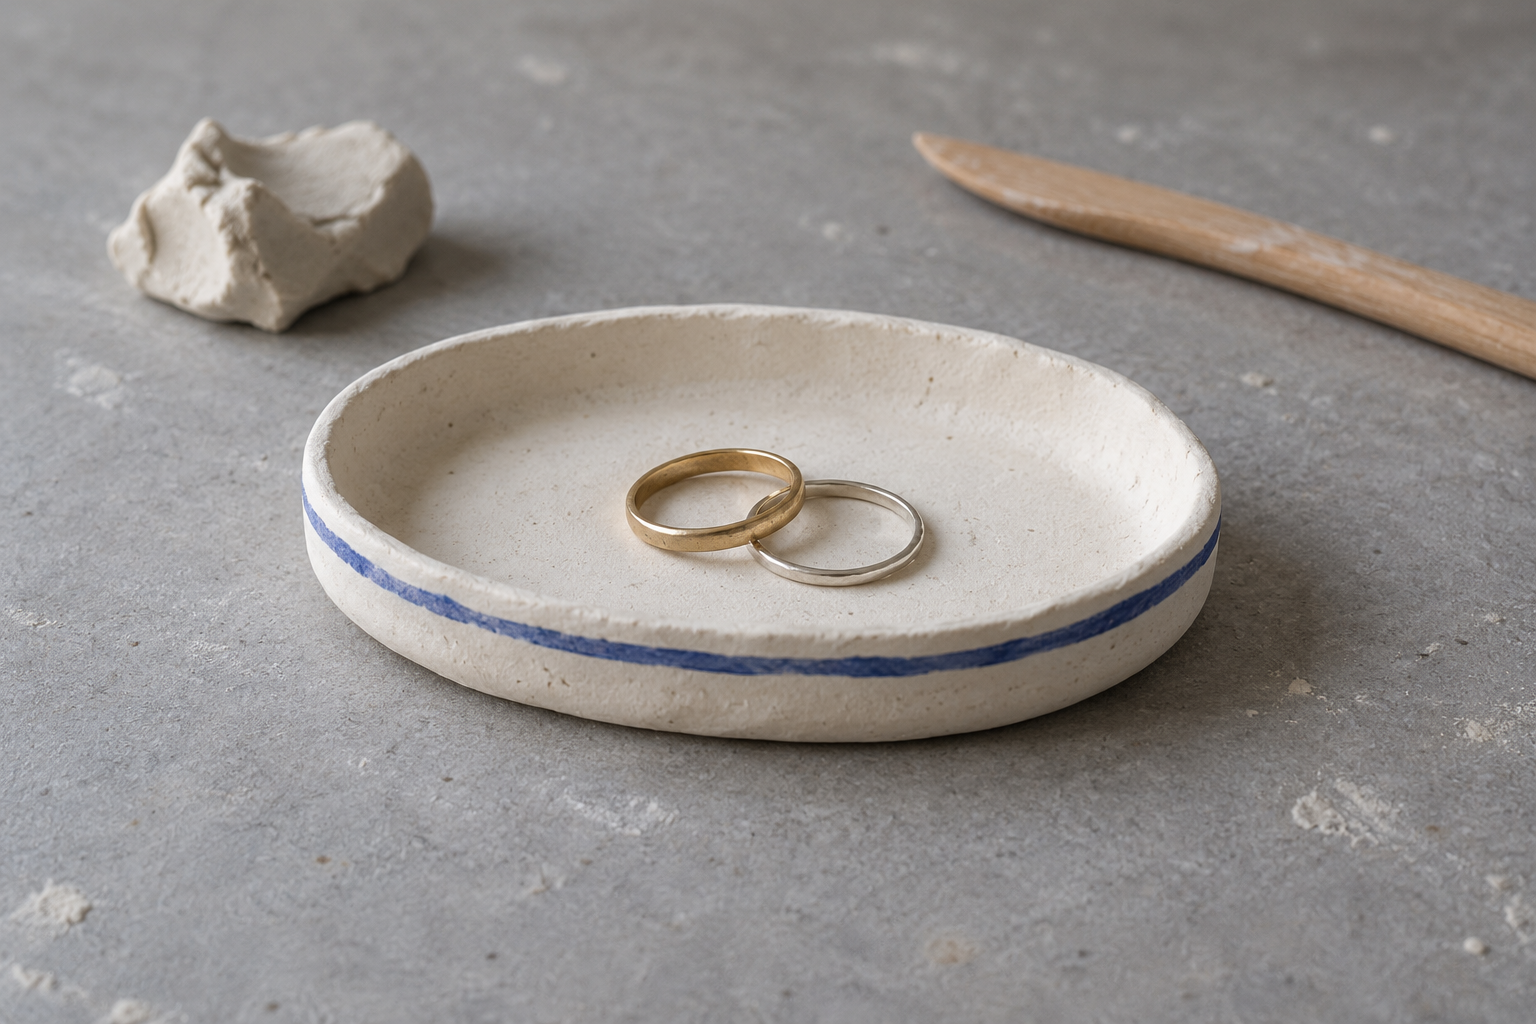
A small tray by the door can hold more than a couple of rings. It can also hold the memory of an afternoon when you stopped looking at other people’s projects and made something yourself. The rim might lean a little. A painted line might wander. Those details make it recognizable as yours.
For a first air-dry clay project, try a shallow decorative trinket tray. It offers a manageable shape, a reason to practice even thickness and a useful place to put the finished piece. This is an editorial project plan based on manufacturer guidance, not a product test. Choose the clay first and follow its own instructions where they differ from this guide.
Understand what you are making
Air-dry clay hardens without the kiln firing used for pottery. It is also different from oven-bake polymer clay. Check the package rather than borrowing another material’s baking or finishing instructions. A tray that looks like ceramic is not automatically suitable for the same jobs.
Keep this project for dry decorative use: rings, a favorite pin or a small keepsake. Do not plan it as a cereal bowl, drinking cup, soap dish or candle holder. Crayola’s craft guidance says its art materials should not contact food in a container intended for eating. Read the manufacturer’s craft-use guidance.
That limitation can help the design. Rather than asking the tray to do everything, decide what one small object it will hold and where it will live. A ring tray for a bedroom shelf does not need to become a dinner plate.
Start with supplies for one tray
- Air-dry clay with readable shaping, drying and finishing instructions.
- A protected, smooth work surface and a small flat board you can move without handling the wet piece.
- A craft roller or smooth cylindrical tool reserved for craft use.
- A blunt modeling tool, a small amount of water and a wiping cloth.
- Paper for a simple outline; optional compatible paint and a brush for a later session.
Skip the large set of stamps and cutters until you know what you enjoy. Begin with a palm-sized oval or rounded rectangle. A smaller piece leaves fewer edges to manage and fits a drying spot more easily. This size is an editorial starting suggestion, not a manufacturer specification.
Clear that drying spot before opening the clay. Making room afterward is awkward when your best work is soft and cannot be picked up by its rim. Keep the leftover material closed according to its packaging while you work.
Shape a low tray, one decision at a time
- Draw the footprint. Sketch the outside shape on paper and place the object you want to store inside the outline. Leave a little room around it. Round off narrow points that would be difficult to handle.
- Prepare the clay. Condition it as the product directs. Work a small portion into an even slab rather than spreading a very thin sheet across the entire table.
- Keep the base consistent. Follow your brand’s thickness guidance. Crayola specifies at least 1/4 inch for its Air-Dry Clay; this is a product-specific minimum, not a rule for every brand.
- Make the outline. Use the paper shape as a visual guide and a blunt modeling tool to define the edge. Leave yourself a simple contour to smooth.
- Lift a shallow rim. Gently raise the outer edge with your fingers while keeping the bottom supported. Aim for a low lip instead of a deep bowl. Do not pinch the rim into a paper-thin edge.
- Stop before overworking it. Smooth obvious rough areas with the small amount of water permitted by the product directions. Photograph the shape, then leave it on its support to dry.
If you are using Crayola, note its warning that excessive water and overly thin areas can contribute to cracking. It also cautions against building around a rigid support that cannot shrink with the clay. Avoid leaving this first tray tightly wrapped around a glass or bowl. Read its cracking guidance.
Give drying its own place in the project
This is a project with a pause in the middle. Shape it in one session and decorate it after it has dried as directed. Do not plan to finish, paint and put it into service in a single sitting.
Write the shaping date on a note beside the piece and keep the package instructions available. Resist picking it up repeatedly to check the underside or moving it by the rim. Follow the maker’s guidance for the surface, airflow and any turning needed. Do not improvise oven or microwave drying.
Crayola’s sealing FAQ describes waiting until its clay is completely dry after 72 hours. Treat that as guidance for that product, not a promise for every material, thickness or room. A timetable from a different brand’s tutorial is not a substitute for your own label. Check the drying and sealing advice.
Choose one small finishing idea
A first tray does not need a complicated painted scene. Choose one of these directions after the piece has dried:
- Keep it plain. Let the texture and slightly uneven outline be the decoration.
- Add one border. Paint a narrow line around the rim in a single contrasting color.
- Mark one corner. Add a small dot or short stripe rather than covering the whole surface.
Test compatible paint or finish on a dried offcut before applying it to the tray. Follow the product’s drying and curing directions. Crayola explicitly warns that sealing its Air-Dry Clay does not make it waterproof and recommends indoor display. A shiny finish should not be mistaken for a functional ceramic glaze. Manufacturer’s sealing FAQ.
Use the first result to plan the second
If the tray cracks, do not immediately buy a different tool set. Look at where it happened. Was the rim much thinner than the base? Did you add more water each time the surface became difficult to smooth? Was part of the piece held against a rigid object? These observations can help you compare your process with the product instructions; they are not a diagnosis of every crack.
A damaged tray can still teach you about shape, but do not rely on a fragile piece to hold something valuable. Your next project can repeat the same outline while changing just one thing: a more consistent thickness, a lower rim or fewer surface details.
If you discover that shaping is the part you love, a studio pottery class can be another direction to explore. Our first pottery class guide covers that different experience. At home, though, there is no need to rush toward the next purchase. Finish one tray, give it a place and notice whether you want to sit down with the clay again.
Sources & verification
Information checked: 2026-10-03