Getting Started
Why Is My Sewing Machine Skipping Stitches? Check These Before Changing Tension
A gap in the seam does not automatically mean the tension is wrong. Start with the needle, threading and a controlled scrap test before turning more dials.
By Hobby-ist Editorial Team · 4 min read · October 17, 2026
In this story
If your sewing machine leaves occasional long gaps where stitches should be, start with the needle and correct threading before changing tension. A damaged, incorrectly installed or unsuitable needle is a common cause in manufacturer troubleshooting. If the real symptom is a nest of thread underneath the fabric, you may be looking at a different threading problem rather than a true skipped stitch.
That first distinction can save an evening. Once several dials have been moved, it becomes hard to know whether the original fault is still there or whether the troubleshooting created another one. Our approach is to preserve a baseline, change one thing, and compare a short test seam. It is a home check for a domestic machine, not an instruction to adjust hook timing or dismantle the mechanism.
First, identify the mark on the fabric
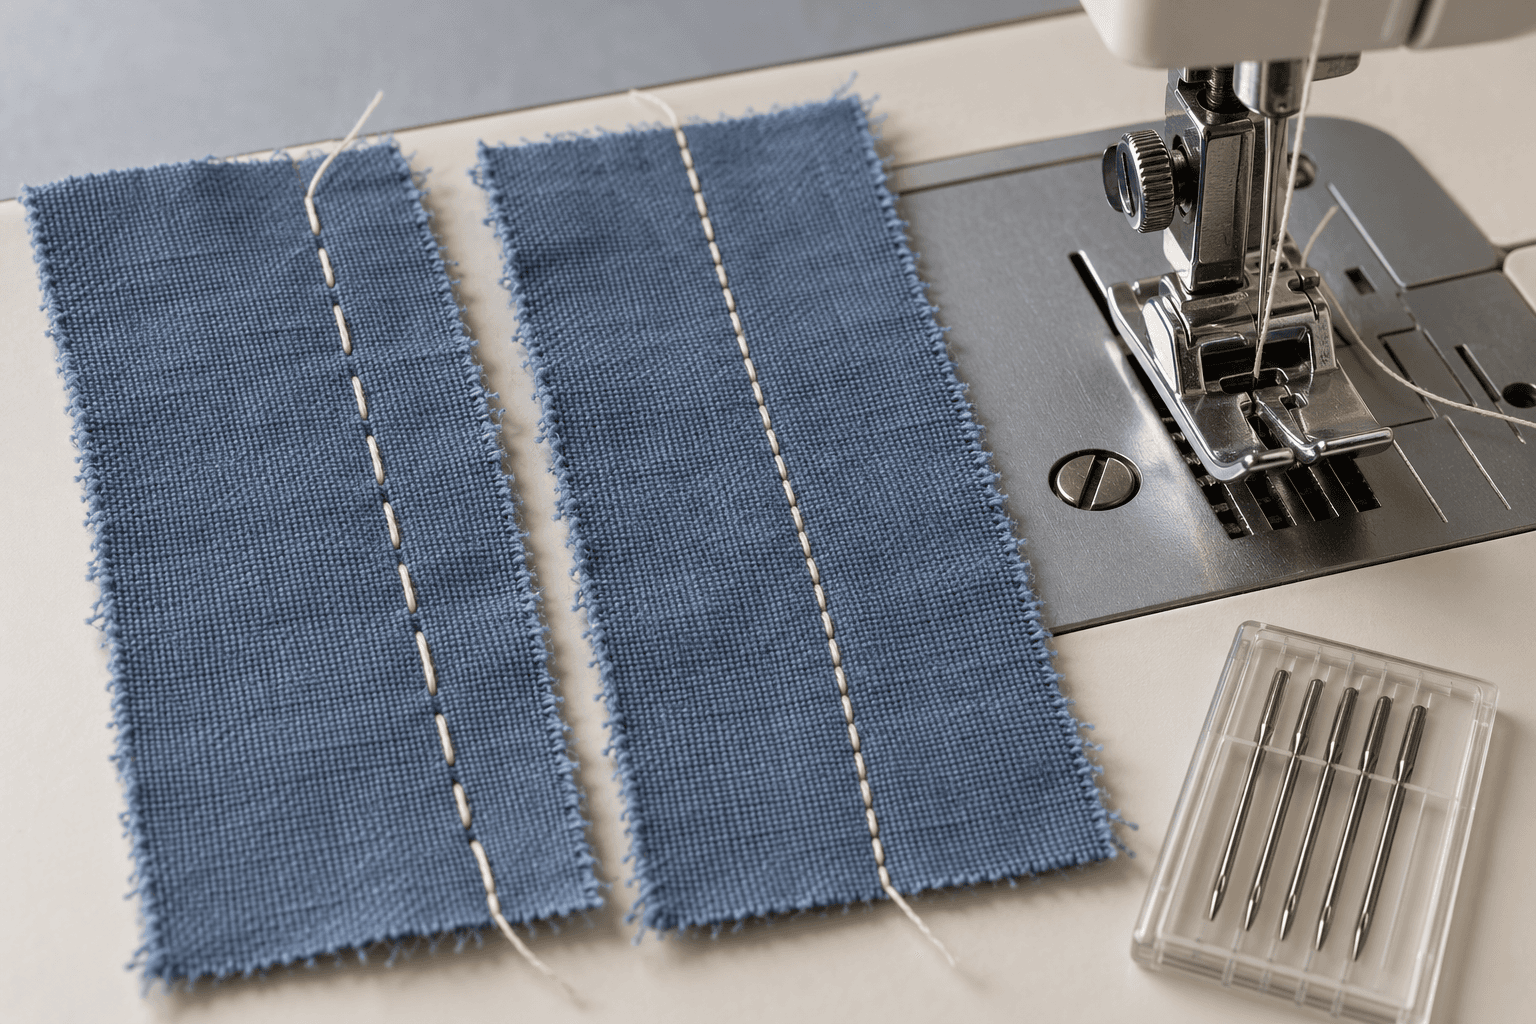
Lay the seam flat and look at both sides. A skipped stitch typically leaves a longer span of thread where a stitch failed to form. Loose loops, a thread nest, puckering and a broken thread are different observations. Take a clear photograph before unpicking it and note the fabric, stitch, needle and thread you were using. Those details help both your own comparison and a technician later.
If the trouble began after a needle strike, the machine jams, a needle bends, or you hear an unfamiliar impact, stop sewing. For a routine needle change or cleaning, turn the machine off and unplug it as directed by its manual. Do not reach around an energized needle to inspect a problem. The scrap can wait.
Use a fresh needle that belongs to the job
The SINGER troubleshooting guide identifies incorrect installation, the wrong needle style for the fabric, and worn or damaged needles as skipped-stitch causes. Fit the correct needle system, size and point according to your machine and fabric guidance. A knit may need a ballpoint or stretch option rather than the needle that worked on woven cotton. Those options are not interchangeable answers for every fabric.
Follow your model’s insertion direction and push the needle fully into the clamp before securing it. Do not universalize a flat-side direction from a different machine’s guide. If the old needle looks straight, that still does not prove its point is undamaged. A correct fresh needle is a more useful test than staring at a tiny tip and guessing.
Rethread from the beginning, then test once
Follow the manual through the upper thread path, raising the presser foot where instructed so the thread can seat properly. Check the take-up lever and any guide you might have missed. Confirm that the bobbin is the right type, inserted in the correct direction and threaded through its intended path. More thread or a tighter dial is not a substitute for correct threading.
Use a scrap of the actual project fabric with the same number of layers. Sew a short seam at a moderate speed without pulling or pushing the cloth. Write down what changed. If you replace a needle and rethread at the same time because the original setup was uncertain, record both actions; do not pretend you isolated a single cause.
Then compare with a simple woven-cotton scrap if appropriate for your machine. Clean stitching on cotton but failures on the project fabric points you toward fabric, needle or support compatibility; failures on both deserve a broader check. This is a clue, not proof of a diagnosis. A very thick crossing or a highly stretchy material can need model-specific technique rather than a generic setting copied from another machine.
Clean only what the manual tells you to clean
Brother’s skipped-stitch support also flags lint around the needle-plate and hook area and says to unplug before cleaning. That page covers listed embroidery models, so use its general caution while following your own domestic machine’s maintenance instructions. Do not copy its disassembly steps onto a different model. Add oil only where your manual requires it.
If a correct fresh needle, verified threading and permitted cleaning do not resolve the problem, stop chasing the tension dial. The SINGER FAQ identifies timing as a possible service issue after basic checks. Needle-to-hook timing is a repair task, not the next casual experiment. Take the test swatches and your notes to support. Manufacturer pages checked October 17, 2026.
Keep the next session easy to restart
Once the seam is reliable, test again before returning to the garment. Keep the successful swatch with its needle and setting notes. This small record is more valuable than the memory that “something fixed it.” If troubleshooting has used all your patience, stop there; a working machine can be a complete result for the evening.
For a gentler thread project, try embroidering one leaf. If a class would help you see threading in person, compare SewFYI’s introductory machine session and verify current availability. The point is to get back to making, with a seam you can trust and fewer unexplained adjustments.
Sources & verification
Information checked: 2026-10-17