Getting Started
Why Is My Air-Dry Clay Cracking? Check These Before Making Another Piece
A crack is useful information about how the piece was built. Start with water, thickness and hidden supports before blaming your hands—or buying a new finish.
By Hobby-ist Editorial Team · 4 min read · October 15, 2026
In this story
If air-dry clay cracks while drying, start by checking excess added water, very thin areas and rigid internal supports. For Crayola Air-Dry Clay specifically, the manufacturer identifies all three as possible causes. A varnish is a finishing layer, not a way to correct an unstable structure.
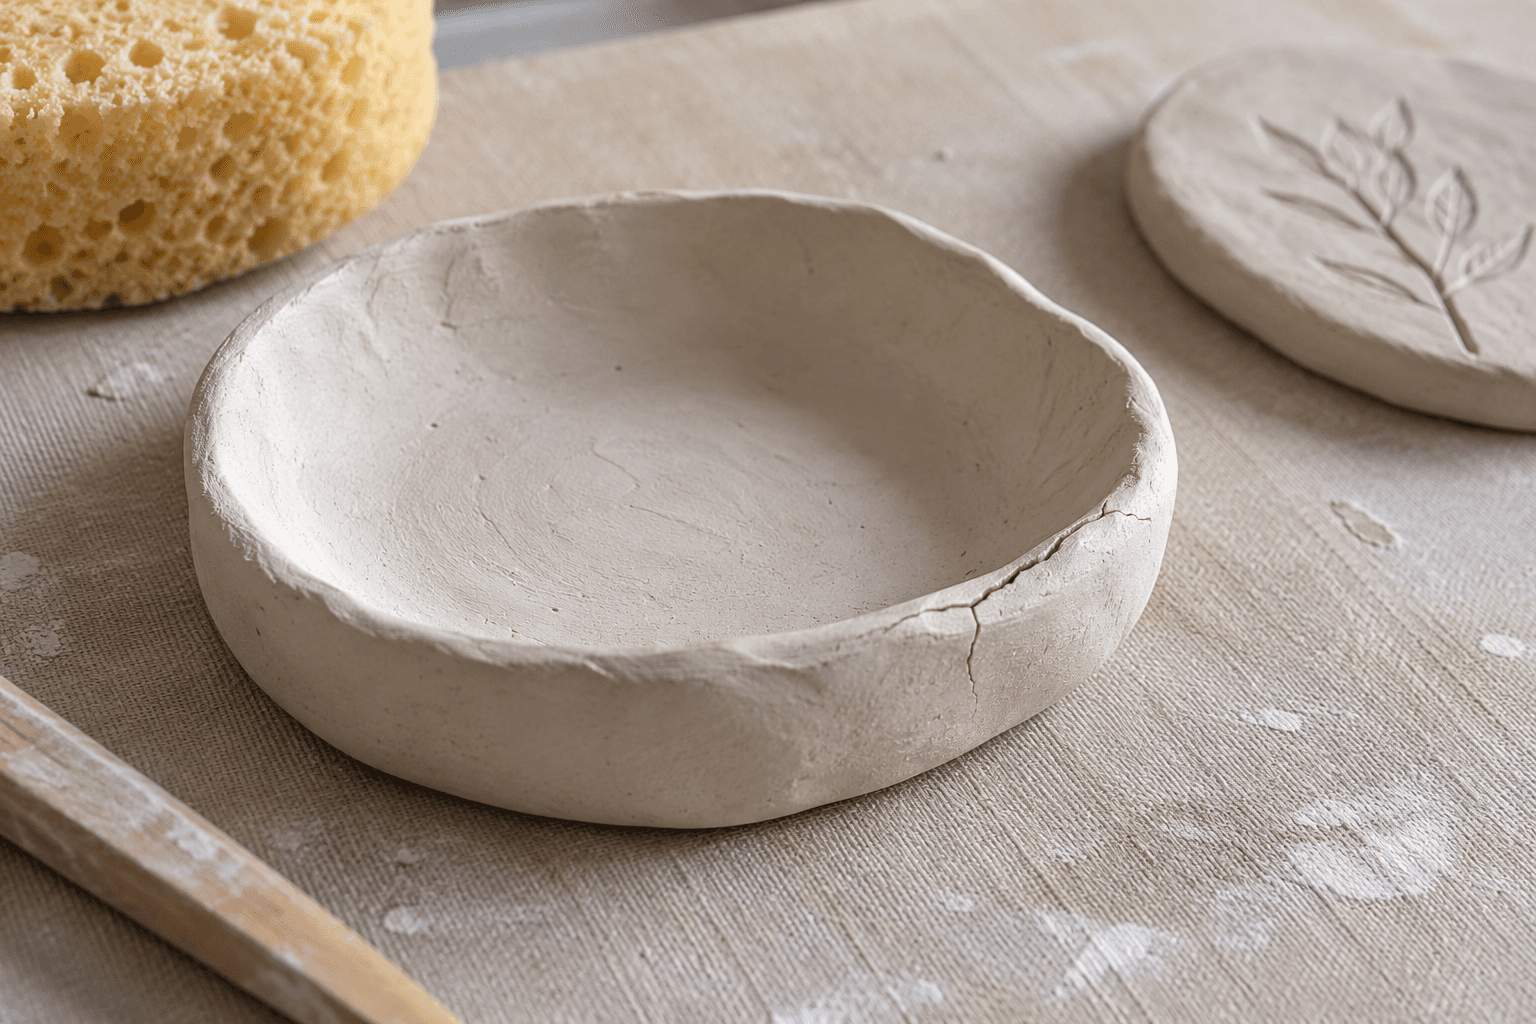
A hairline across a bowl can feel like a verdict on the whole evening. It is often more useful to treat it as a record of how you made the object. Before trying another full project, look at where the crack appeared and what was different at that point. The aim is to change one likely cause, not to add every repair trick you find at once.
First, name the material
Air-dry clay is a category, not one interchangeable recipe. Check the package and the manufacturer’s instructions for your exact product. Advice for polymer clay, kiln-fired ceramic clay or a different air-dry formulation may not transfer. This guide uses Crayola’s cracking guidance as a concrete example; its measurements are not universal specifications for all brands.
Write down the product name and what you added. “Water to smooth the edge” is a more helpful observation than “the clay was bad.” If you no longer know the material, test a small leftover amount before investing time in a large replacement.
Check the three construction clues
Too much water can make the clay excessively soft and contribute to cracking as it dries. Crayola advises letting excess moisture evaporate before molding if too much has been added. Our practical suggestion is to avoid repeatedly wetting the whole surface just to chase a perfectly smooth appearance. Use the product’s directions and judge the clay’s working consistency, rather than assuming more water means fewer marks.
Thin sections are another clue. Crayola specifies at least a quarter-inch thickness for its Air-Dry Clay, approximately 6 mm. Look at rims and stretched corners, not only the thickest part in the middle. A dish that looks substantial from above can have a fragile edge. For another product, use that maker’s own thickness guidance.
A rigid object inside the clay can create a different problem: the clay shrinks while the support does not. Crayola discourages rigid armatures and suggests a support with some give if one is needed. That is not a reason to put a different rigid household object inside the next attempt. For a beginner retry, we would simplify the form enough to avoid an internal support altogether.
What to do with the cracked piece
Do not start by painting over the crack. Photograph it, note whether it crosses a thin edge, a join or a supported section, and decide what the object was meant to do. A decorative test tile can still teach you something with a visible flaw. A piece expected to hold weight or survive repeated handling needs a more conservative decision.
Small cosmetic repairs may be possible with a method approved for the product, but a repaired surface does not establish structural strength. If the crack separates the object or keeps reopening, our recommendation is to preserve the lesson and remake a simpler version. You do not have to turn the first failed dish into a second, larger project about repairing it.
Try a comparison you can actually learn from
Make two modest test pieces rather than another elaborate form. Keep the product, location and basic dimensions similar, then change the one factor you suspect—for example, stop adding smoothing water during the second sample. Label the samples and let them dry according to the package. This is a practical comparison, not proof that one variable explains every possible crack.
Look at the result before decorating. Are the edges intact? Does the shape stay usable for its intended decorative purpose? Our watercolor paper troubleshooting journal uses the same principle of changing the setup before blaming your ability.
Dry and sealed does not mean waterproof
Crayola’s sealing guidance says to wait until the piece is completely dry, referring to 72 hours, and test varnish compatibility. It explicitly says sealing does not make the clay waterproof and recommends indoor display. Follow your own product’s drying instructions rather than treating that duration as a guarantee for every shape or brand.
Do not assume a decorative dish is food-safe or suitable for holding water. We would make the first successful retry a dry display object or a simple sample. If keeping experiments manageable is difficult, our shared-space journal offers a way to give small work a temporary home.
The useful outcome is not merely a crack-free photograph. It is knowing one thing you will build differently next time.
Sources & verification
Information checked: 2026-10-15