Gear & Picks
Hobby Storage for Small Spaces: Choose a Tray, Pouch, or Project Box
Choose storage around the way you start, move, and pause a project. Compare trays, pouches, and boxes for ordinary paper, drawing, and yarn supplies.
By Hobby-ist Editorial Team · 6 min read · September 27, 2026
In this story
You have half an hour before dinner. The notebook is on a shelf, the scissors are in a kitchen drawer, and the paper you saved is somewhere under the mail. By the time everything reaches the table, the available half hour feels considerably smaller.
A dedicated hobby room would solve some problems. Most of us need a solution that fits on an existing shelf.
For small paper, drawing, and yarn projects, it can help to think about storage as part of the activity. A container should do more than make supplies look tidy when you are not using them. It should help you move from “I could do a little now” to actually beginning.
This is a guide to choosing a format, not a tested product ranking. The examples concern ordinary dry materials; wet paint, clay, chemicals, and specialist equipment need storage suited to their own instructions.
Start with the trip your kit will make
Before shopping, trace the actual route. Will you carry the project from a shelf to a table? From the bedroom to the sofa? Out of the house in a bag?
Then imagine stopping. Where will the unfinished work go when someone needs the table? Can the kit move without rearranging every item? Does its storage place remain easy to reach when other things are in front of it?
These questions lead to different choices. An open tray may work well for a short, level trip inside the home. A closing pouch makes more sense for small tools traveling inside another bag. A box can keep a loose paper project together between sessions.
You may eventually combine formats. Begin with the part of the journey that currently causes trouble.
A shallow tray: for moving the whole session
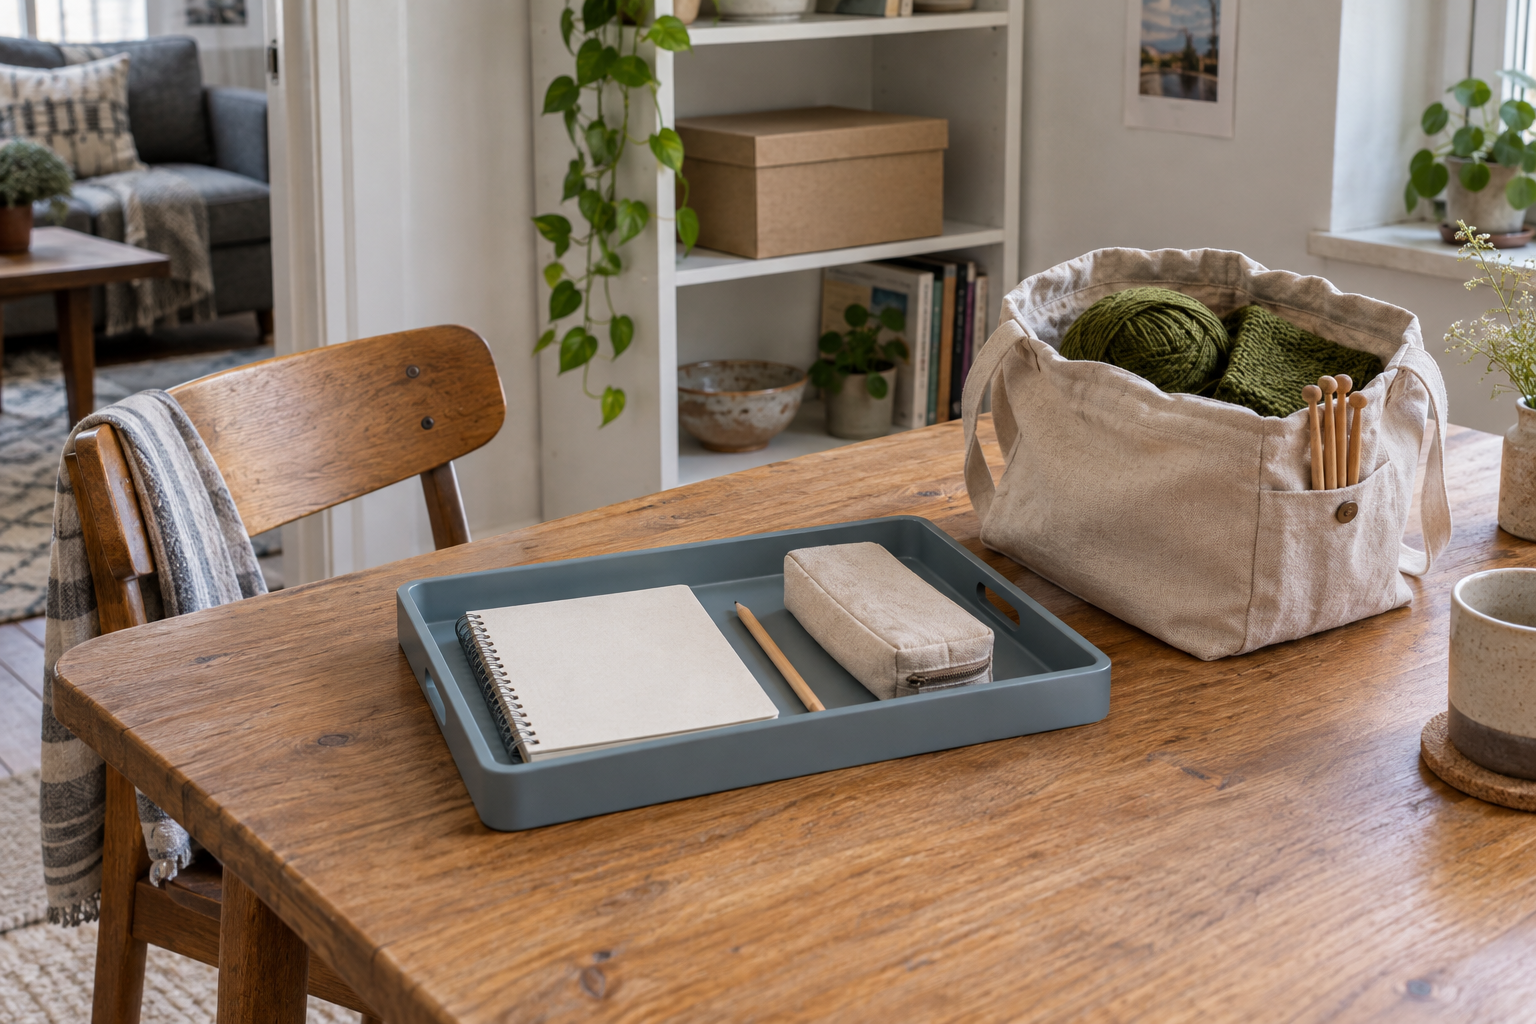
A tray is useful when you want to see the supplies at a glance and carry them together. Think of a notebook, pen, eraser, and a few pieces of paper moving from a low shelf to the dining table.
Check the usable inside area, not just the outside dimensions. Rounded corners and sloping sides can make the flat base smaller than it appears. Your largest everyday item should fit without bending or sitting precariously across the rim.
Try lifting a loaded tray with both hands. A rigid base, a comfortable edge or handles, and a manageable loaded weight matter more than matching the furniture. Keep the load low and leave enough room to pick items up without knocking the rest over.
The trade-off is exposure: an open tray does not contain loose tools if it tips, and it does not protect the contents from dust or curious hands. Put small or sharp tools in an appropriate closed case, especially in homes with children or pets. A tray is a convenient carrier, not secure storage.
If your main frustration is putting everything away one item at a time, an existing household tray is worth trying before buying a craft-specific organizer.
A pouch or project bag: for traveling with one activity
A pouch works well for a small set of tools you need to contain. A larger project bag can hold an unfinished yarn project and the supplies needed to continue it.
For tools, look at how the opening behaves. Can you see the bottom without emptying the pouch? Does a short pencil disappear into a deep corner? Will the closed case actually contain the longest item?
For yarn, think beyond capacity. Check the inside for rough seams or fittings that could catch the project. Keep scissors and other sharp tools in a suitable separate case, and secure needles so their points cannot push through the fabric. A few compartments may help; so many that you forget where things live may not.
A soft bag changes shape, which can be useful on a crowded shelf. It also offers less protection against crushing than a rigid container. If you carry loose paper, put it in a folder or other suitable support rather than expecting a fabric bag to keep it flat.
The best test is ordinary: pack the actual project, close the bag, carry it across the room, and unpack it. A photograph of an empty bag cannot tell you whether your work comes out tangled.
A project box: for keeping unfinished pieces together
A lidded box can give a paper project a defined home. Keep the working notebook or sheets, selected scraps, and a small tool pouch together so that the next session does not begin with a search.
Look at the usable internal dimensions and the space required to remove the contents. If a page only fits when curled, the box is too small for that page. If the lid presses on the unfinished work, extra depth may be necessary—or fewer materials inside.
A single open compartment suits larger pieces. A removable shallow insert can help with small loose items. Fixed tiny compartments are useful only when their sizes match what you actually store.
Check the shelf as well as the box. Can you open it there, or will you always carry it to the table? If boxes are stacked, can you get to the active project without dismantling the whole pile?
For valuable papers or photographs, do not assume an ordinary storage box provides long-term preservation. Choose materials for that purpose separately. The box described here is a working home for replaceable everyday craft materials.
Give active work and spare supplies different homes
A container for everything you own may become too heavy or crowded to be useful for one session. Separate the kit you are using now from reserve supplies where practical.
For a small knitting project, the active bag might hold the work, the yarn needed next, the pattern, and a small case of supporting tools. Extra yarn for an unrelated project can stay elsewhere. Our knitting and crochet comparison can help if you are still choosing a first yarn activity.
For a paper journal, the active box might hold the notebook, a few chosen scraps, a pen, and adhesive stored as its label directs. The entire collection of possible future papers does not have to come to the table.
Add a note about where you stopped: “Try the blue paper beside the photograph” or “Check the next row before continuing.” Keeping your place can be as helpful as keeping your tools together.
Test the routine before upgrading the container
Use something you already own for a few sessions. Notice where the routine catches: finding supplies, carrying them, seeing the small pieces, protecting unfinished work, or returning everything to the shelf.
Turn that observation into a purchase requirement. “The opening needs to be wider” is useful. “I want the room to look like a craft studio online” is harder for any one box to satisfy.
Measure the largest item, the available shelf space, and the opening of the bag you will carry it in. If you buy something, compare those measurements with its usable dimensions and check the seller’s return terms before ordering. There is no need to replace a working container simply because it was sold for another purpose.
Next time you stop, leave the kit in the state you would like to find it. Close adhesives, contain small tools, protect the unfinished work, and put it back where the next session will begin.
A useful storage setup does not need to make a striking photograph. It needs to leave you with enough of that half hour to do something you wanted to do.
Sources & verification
Information checked: 2026-09-27