Gear & Picks
Your First Sketching Kit: Start With a Pencil, Not a Shopping List
Choose a small sketching kit around the drawing you want to try. Learn what pencil grades, paper, and bindings change—and when another tool is worth adding.
By Hobby-ist Editorial Team · 6 min read · September 24, 2026
In this story
The art-supply aisle can make a simple wish feel complicated. You wanted to draw the cup beside your laptop. Now you are comparing pencil grades, paper weights, and a box containing more tools than you can name.
Give your first kit a smaller job: make it easy to sit down and draw one ordinary object. It does not have to prepare you for every technique you might eventually enjoy.
This guide is for short, dry graphite sketches. It is an editorial selection framework, not a hands-on ranking of products. Start with what you have and buy only what helps you begin.
The smallest useful kit
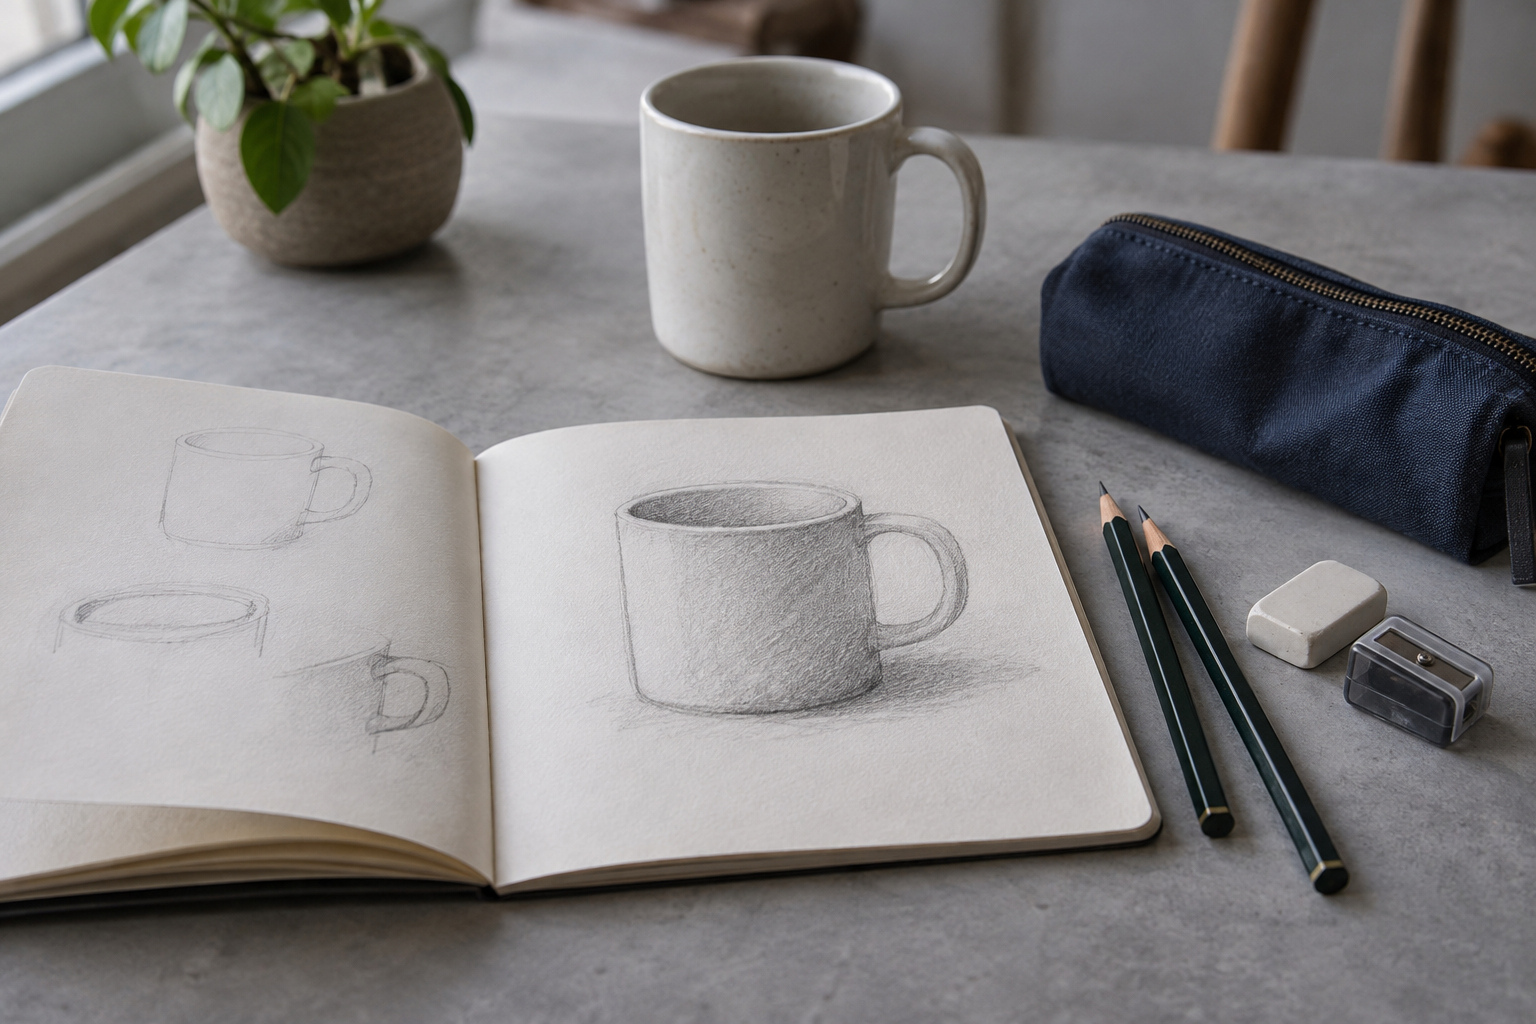
Our starting suggestion is one pencil, some paper, an eraser, and a way to keep the pencil usable. A pouch or envelope you already own can hold everything.
For a first session, ordinary blank paper on a firm surface is enough to try the activity. If the only pencil you have is a mechanical one, use it. A comfortable tool you can pick up today is useful information before a purchase.
If you are buying from scratch, choose an HB graphite pencil, a modest sketchbook intended for pencil or dry media, a simple eraser, and a sharpener that fits the pencil. Add a 2B pencil later if you want to compare the feel of a softer grade.
That is a practical starting combination, not a required set. The important question is whether you can open it and get going.
Understand the pencil letters without collecting them all
The letters describe graphite hardness. Faber-Castell’s guide to pencil grades explains H as hard, B as soft black, and HB between those families. Higher numbers extend the grade in the corresponding direction.
For this kit, HB is our suggested first choice because it lets you explore lines and light shading with one familiar kind of pencil. A 2B gives you a second feel to compare. You do not need a full graduated set to discover whether sketching interests you.
Try the pencil on the paper you intend to use. Make a light line, a darker line, and a small patch of shading. Change your pressure gently rather than pressing as hard as you can.
If a mark seems disappointing, do not immediately blame the pencil. Its interaction with the paper and the way you hold it also matter. The manufacturer’s explanation is useful background; your own small test helps you decide what feels comfortable.
Choose a page you will actually use
The most beautiful sketchbook is not always the easiest one to start. If you find yourself saving every page for a worthy drawing, a less precious pad may be a better choice for now.
Think about where you will draw. At a desk, loose sheets on a firm backing may be perfectly convenient. On a park bench, a book with a supportive cover may be easier to manage. If you want to carry it daily, check that it fits the bag you actually use.
A5 or a similar compact size is a reasonable starting suggestion. Choose larger if you enjoy moving your whole arm, or smaller if portability is what gets the book out of the house. Neither size is a measure of seriousness.
Look for paper whose intended media include pencil or graphite. As one example of labeling, Strathmore describes its Vision Sketch paper as lightly textured paper for quick dry-media sketches. That is an example of a relevant use description, not a requirement to buy that product.
Do not choose by weight alone. A heavier sheet is not automatically the right surface for every tool. If you later want to add wet washes or markers, check the paper maker’s guidance for that medium before buying a larger supply.
Pick a binding around your drawing position
A spiral pad can let you fold the cover back and work with one page exposed. Check whether the wire sits where your hand wants to rest.
A bound book can be pleasant to keep as a sequence of observations. Check how comfortably it opens without forcing the spine, particularly if you expect to draw near the middle of a spread.
Loose sheets give you freedom to rotate the page, replace a test sheet, and work without thinking about the rest of a book. They also need a backing and somewhere to store finished pages.
These are differences in use, not a quality ladder. Imagine your next ten-minute drawing session and choose the format that makes that situation easier.
Keep the supporting tools ordinary
An eraser that gives you a second try
Use an eraser you already have if it works comfortably on your paper. Test it on a spare corner before repeatedly rubbing a drawing.
You do not need to remove every earlier line. Some can stay as a record of a changing observation. If you become interested in lifting small areas of tone, that is a reason to investigate another eraser type later.
A sharpener that fits your pencil
Check the barrel size and the sharpener’s instructions. A small container-style sharpener can make it easier to collect shavings when drawing away from a desk.
If you use a mechanical pencil, carry compatible replacement lead instead. There is no need to buy a wooden pencil simply to make your kit resemble someone else’s.
A place to keep the kit together
An existing pencil case, zip pouch, or small box is enough. Keep sharp points protected and graphite away from anything you do not want marked.
Try storing the kit where you will begin drawing. A beautiful case buried in a cupboard is less helpful than a plain one beside the chair you use.
Give the kit a ten-minute audition
Choose a cup, a spoon, or another uncomplicated object. Set a short time window that feels inviting.
First, make a few test marks in a corner. Then draw the outside shape of the object. Add one internal detail and one area of shadow if you want to.
When the time is up, write down one thing you noticed about the object and one thing you noticed about the tools. “The handle is narrower than I thought” and “the book keeps closing” tell you different things.
The first observation gives you something to draw again. The second may give you a reason to change your setup.
Repeat with the same kit on another day before making a long shopping list. Our guide to finding a hobby you’ll enjoy offers a similar way to keep the first experiment manageable.
Upgrade when you can name the problem
If your book stays at home because it is too large, try a smaller format. If you struggle to keep the page steady, look for a better backing. If you want to explore darker, softer marks, try one additional pencil grade.
A vague feeling that your drawings are not good enough is not a very useful shopping brief. “I want a page that stays open on my lap” is.
You can also decide that you like the kit exactly as it is. A growing hobby does not always need a growing collection of equipment.
Your first purchase has done its job when you stop thinking about what else belongs in the case and start wondering how to draw the cup’s handle.
Material references were reviewed while preparing this guide on September 22, 2026. Product pages are cited for their explanations, not as tested endorsements. No affiliate links or paid placements are included.
Sources & verification
Information checked: 2026-09-22