Gear & Picks
Your First Birding Binoculars: How to Choose Between 8×32 and 8×42
Start with the walks you will actually take, then compare the view, fit and weight. The specification sheet is only part of the decision.
By Hobby-ist Editorial Team · 4 min read · September 29, 2026
In this story
The moment that makes binoculars appealing is often small. A bird lands across the path. You can see that it has a patterned wing, but not quite how the pattern works. You want to look for a little longer.
Then shopping begins, and a simple wish turns into a list of magnifications, lens sizes and model names. It helps to bring the decision back to that path. What would you comfortably carry there, and how quickly could you find the bird when you raised it to your eyes?
This is a guide to comparing a first pair. It is not a ranking of products we have tested, and it contains no affiliate shopping links.
Understand the two numbers
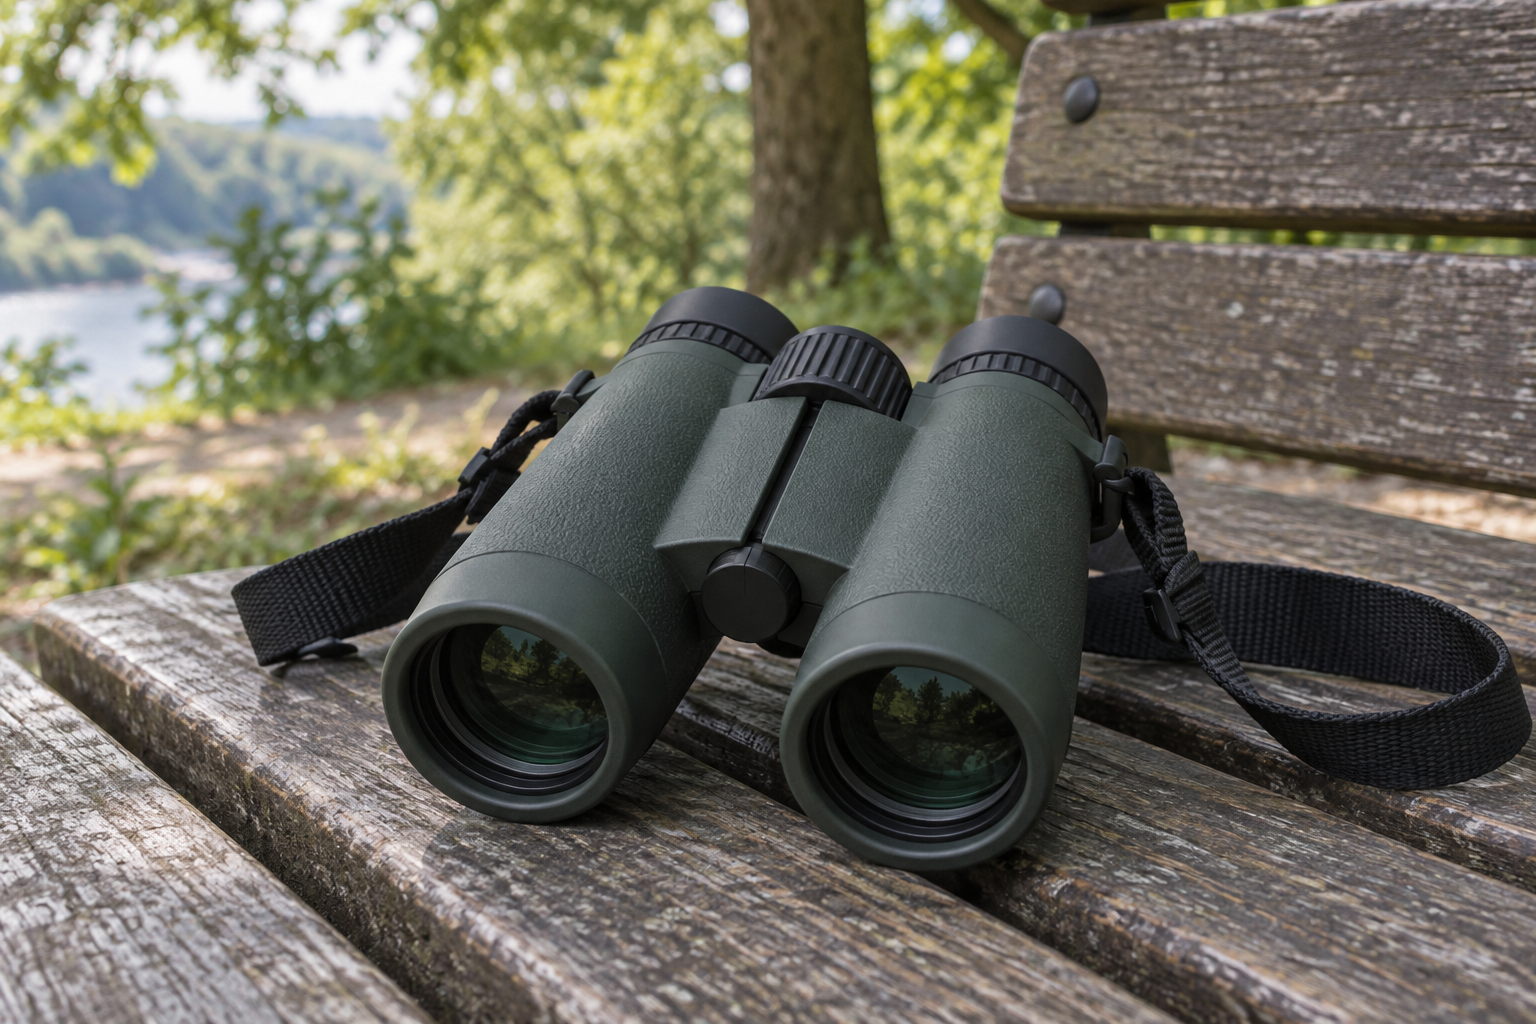
In 8×32, the first number indicates magnification and the second is the objective-lens diameter in millimeters. An 8×42 pair has the same stated magnification with larger objective lenses. The Cornell Lab explains the convention in its binocular guidance.
Neither label tells you the entire viewing experience. Compare actual weight, field of view, focus operation and fit between individual models. Do not assume two pairs with the same numbers will feel identical in your hands.
Cornell’s buying tips describe 8× as a useful balance for many birders. Treat that as a starting point for a comparison, rather than a requirement to ignore every other option.
Choose a use case before a model
Write down the outing you expect to repeat. A neighborhood walk with a small bag creates a different carrying decision from an outing mainly spent watching from one place. If you wear glasses, include that in your test from the beginning.
Cornell’s size guide places 32 mm and 42 mm in different size categories. In practice, compare the specific pairs you are considering: dimensions and weight vary. A compact-looking model can still be awkward for your hands; a larger one may feel well balanced.
Set a spending ceiling before you visit a shop. Include any necessary carrying arrangement, but avoid assembling a complete birding kit before you know what you will use. If a local group offers loan equipment, ask whether you can try it on an outing before buying.
Run the same short test on both pairs
Here is an editorial comparison exercise you can take to a retailer. Ask permission to try both pairs under similar conditions, preferably with an outdoor view. Use the same subjects and repeat the sequence rather than relying on a quick first impression.
First, choose a stationary object you can see without binoculars, such as a sign or a distinct branch. Look at it, raise the binoculars and see how easily you find it again. Lower them and repeat. Note whether the view comes together comfortably or whether you keep adjusting your position.
Next, compare focus on a nearer object and a more distant one. Can you reach and turn the wheel easily while holding the binoculars? Ask staff to help set the binoculars up for your eyes before judging them. An unfamiliar adjustment should not decide the purchase for you.
Finally, hold each pair for longer than a single glance and try the carrying setup. Think about the point halfway through your usual walk. Would you still want these with you? Record a plain answer instead of a score that looks precise but means little.
Check what you can see around the bird
A magnified subject is only part of the view. Cornell explains that a wider field of view can help with locating and following birds. Compare the actual field specification and the view you experience, rather than inferring it from 8×32 or 8×42 alone.
If you wear glasses, test with them on. Audubon’s selection guide discusses eye relief, the distance between the eyepiece and your eye. Ask for help adjusting the eyecups and check whether the whole viewing circle remains accessible without pressing uncomfortably against your glasses.
For nearby birds or other small subjects, check the model’s stated close-focus distance too. You do not need to optimize every number, but you should know which distances matter to the outings you have in mind.
Buy for another walk, not an imaginary future
When the comparison is finished, write three notes: which pair was easiest to use, which you would willingly carry, and what still felt uncertain. If one unresolved detail matters more than the differences you enjoyed, pause and ask about it before paying.
Check the retailer’s return terms and the manufacturer’s warranty. Keep a record of the exact model you tried so that a similarly named version does not become an accidental substitute.
Your first pair does not have to serve every future trip. It needs to make the next ordinary outing more inviting. If the bird disappears before you identify it, the walk can still have been worth taking. Bring the binoculars again and let familiarity grow through use.
Sources & verification
Information checked: 2026-09-28
- https://www.allaboutbirds.org/news/close-focus-binoculars-enjoy-birdwatching/
- https://www.allaboutbirds.org/news/six-steps-to-choosing-a-pair-of-binoculars-youll-love/
- https://www.allaboutbirds.org/news/how-to-choose-binoculars-full-size-compact-pocket/
- https://www.allaboutbirds.org/news/choosing-binoculars-field-of-view-and-close-focus/
- https://www.audubon.org/magazine/how-choose-your-binoculars